I've been neglecting a problem for a little while, only because it wasn't warm enough to spray paint, and I'm lazy, but then we had a few warm days and I went spray paint crazy! I altered two lamps at once, well almost at once, but today I'm going to share with you the lamp I altered for Devlin's room.
You see he used to have two lamps, but then he wanted to get rid of the baseball theme, which included a lamp that was made out of baseballs. Thats when the darkness descended on his room, because unless the sun was shining into his room the lone little lamp we left in his room was not enough light.
So this is the lamp I started with:
Pretty sad, huh? Yea. That's the lamp I bought for a $1 at the estate auction a while ago. Yup, $1. Not to shabby. So the first order of business was to trash the shade, and paint the base a happy apple green per Dev's request.
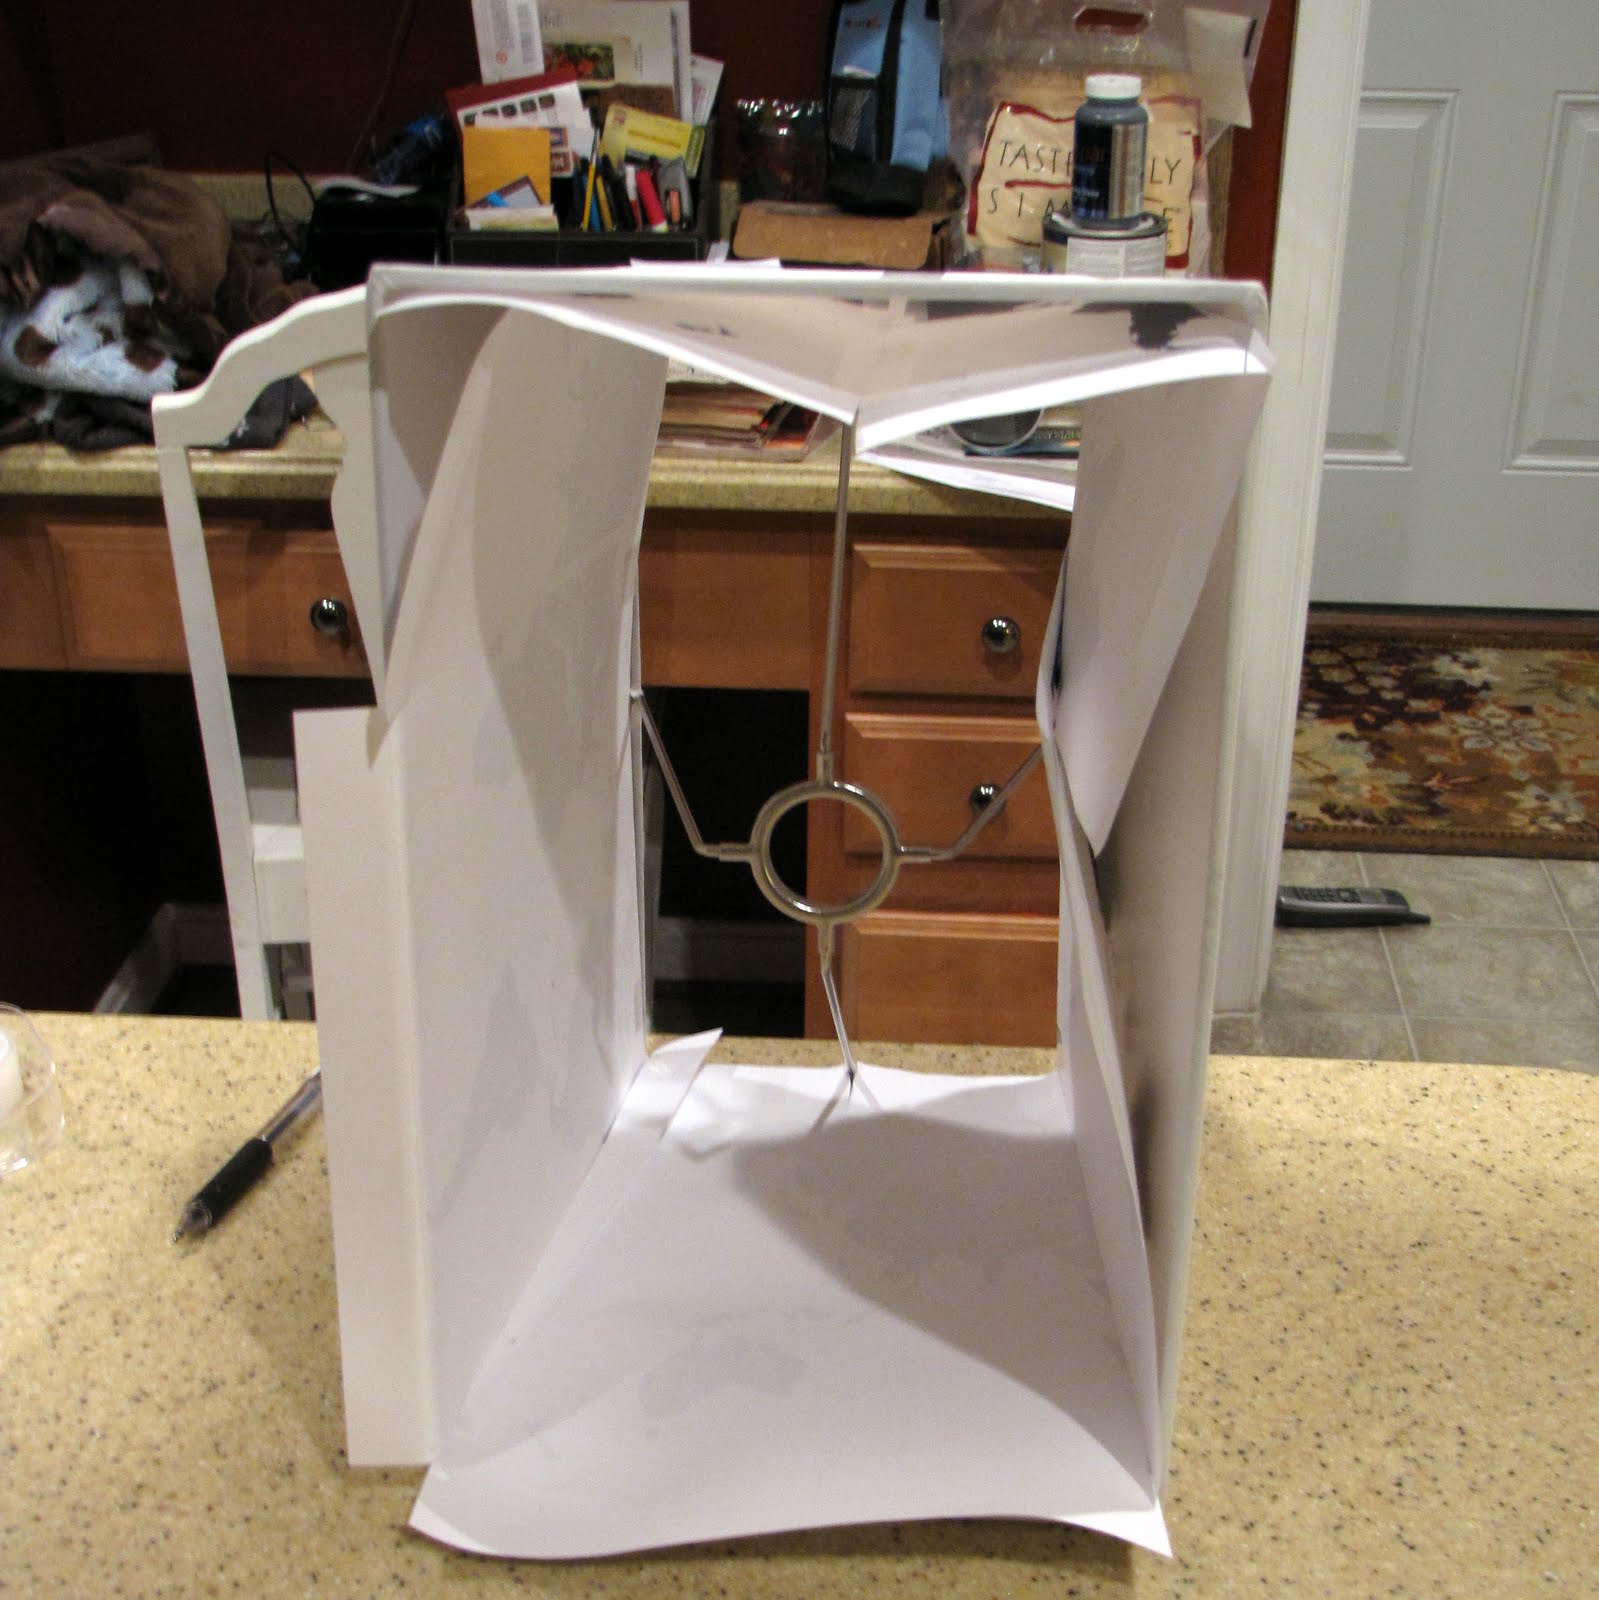
Then I busted out a new lampshade, and the wheels started turning. I found some clipart of a silhouette of the continents of the world and loaded it up in Photoshop. I repeated the design until I had enough to go around my shade, then I skewed each section of the map so that it would match up with the trapezoidal shape of my shade. The I cut it out and taped it to the inside of my lampshade.
Its not a great tape job, but then it doesn't have to be. I then put the shade on the lamp and traced all the continents onto the shade with a pencil. It doesn't have to be perfect. Once you're done with that take out the paper.
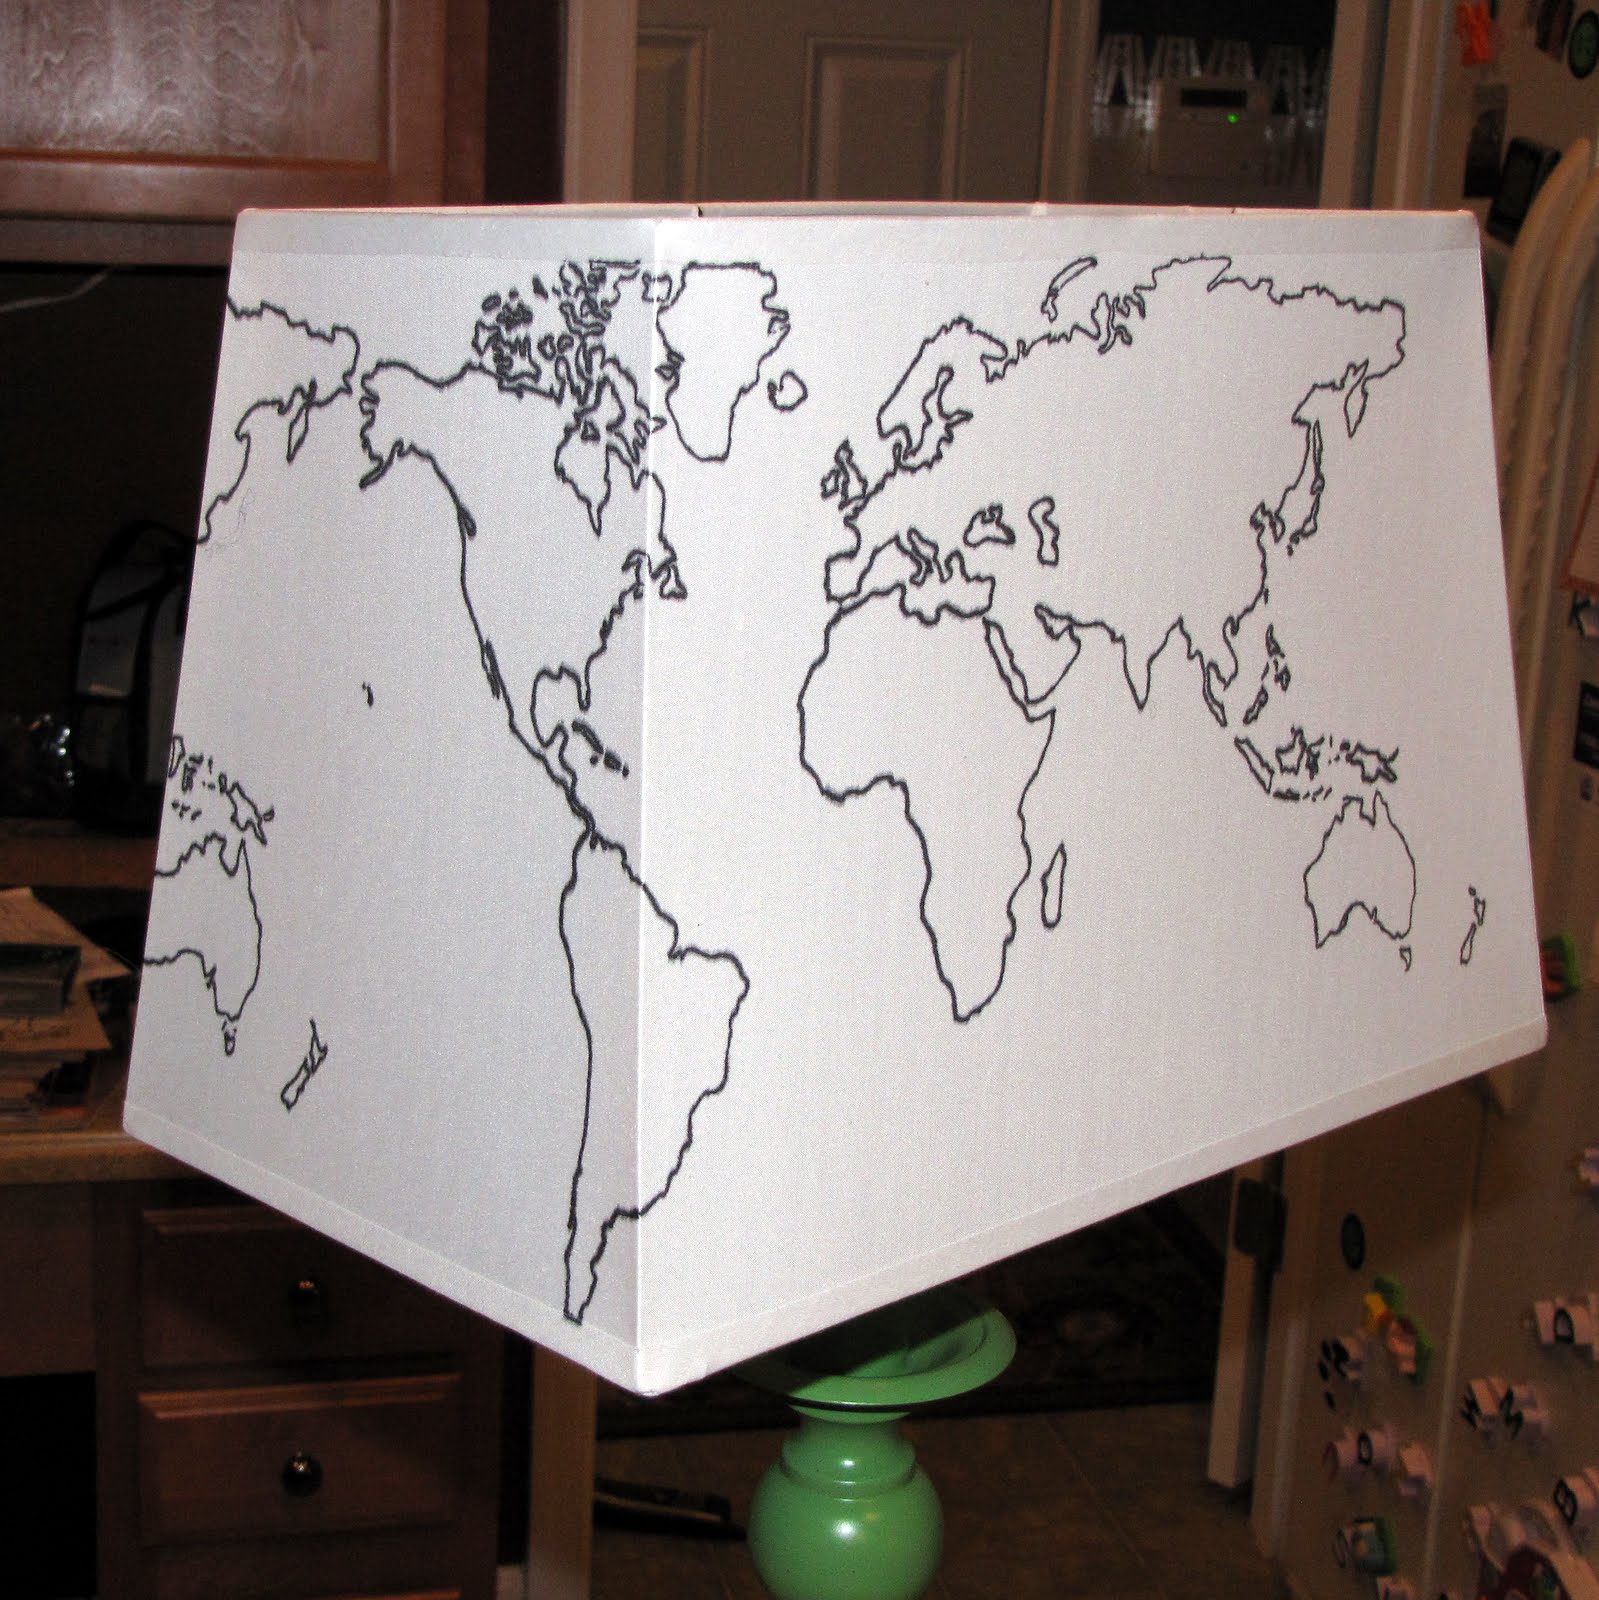
The lines are pretty faint, but that's ok, because what I did next was just pull out a sharpie. I do believe that sharpies are my favorite crafty accessory...that is next to coffee. :) So now I just take my sharpie and go back over my pencil lines.
I was going to add arrows to certain points around the world ala Indiana Jones, but decided in the end I like the simplicity of this map. Now I moved it back to Dev's room.
The lamp looks so nice in his room. Although I do wish that he'd pick a different color other than green to paint all his accessories. :)
Here is the before and after again. Just for good measure.
I am loving the transformation. :)
Oh and just for you guys. Here's the clipart I found.
I hope you guys enjoy this little gem, because there are lots more ideas in store for this map. :)
Have a great day guys!


Looks great! Green is an awesome colour ;)
ReplyDeleteThis turned out really great! I'm kicking myself for spending way too much on a similar idea from Pottery Barn Kids.
ReplyDeleteI LOVE how this turned out! I really like the map, and the green is so fun and bright. So glad I came across your blog. I'm a new follower.
ReplyDeleteThis looks fantastic! I love how you did it - great explanation!
ReplyDeleteThanks for linking to a Round Tuit!
Hope you have a great week!
Jill @ Creating my way to Success
http://www.jembellish.blogspot.com/
I just found your blog and am your newest follower. This lamp is AMA-ZING! Thanks for the fab tutorial and inspiration.
ReplyDeleteThis is such a great idea! I always love vinding new things to do with lamps shades
ReplyDeletewww.indieinventions.blogspot.com
So unique & I could totally see something like this in a catalog for big bucks! Thanks for linking to Craftastic Monday:)
ReplyDelete