

I've learned a few things in the years between then and now, so I'm going to spruce it up, and regift it to you guys.

First off, I made the pillow in 2 hours - start to finish, during Harrison's nap, so this is definitely a project for all you with little time.
I already have an alternate to this pattern in the works....imagine ruffled/pleated sections! I digress, so let me just start at the beginning.
Materials:
- 1 yard of Fabric (your choice)
- 16" pillow form
- Coordinating Thread
- Pins
- Scissors
- Pen
- Ruler (I use a 6" x 24" one)
Directions:
- Cut (2) 17" squares and (4) 9" x 22" rectangles from your fabric. Press the pieces.
- Take one of your 17" square panels and mark a line a 1/2" in from the edge. Starting at one edge of the panel make a hash mark a 1/2" from the edge, this is your corner point. From that point make a mark every 4" until you reach the other end point, which is a 1/2" in from the opposite edge. Repeat for the opposite edge. These are your guide marks for where to lay your rectangles.
- Take one of your rectangles and with right sides together, fold the piece lengthwise in half. Stitch down the seam in a 1/2" seam. Press the seam open being careful not to press the edges (not a big deal if you do accidentally). Turn the rectangle right-side out and with the seam side up, center the seam and then press the entire rectangle. Do this for each remaining rectangles.
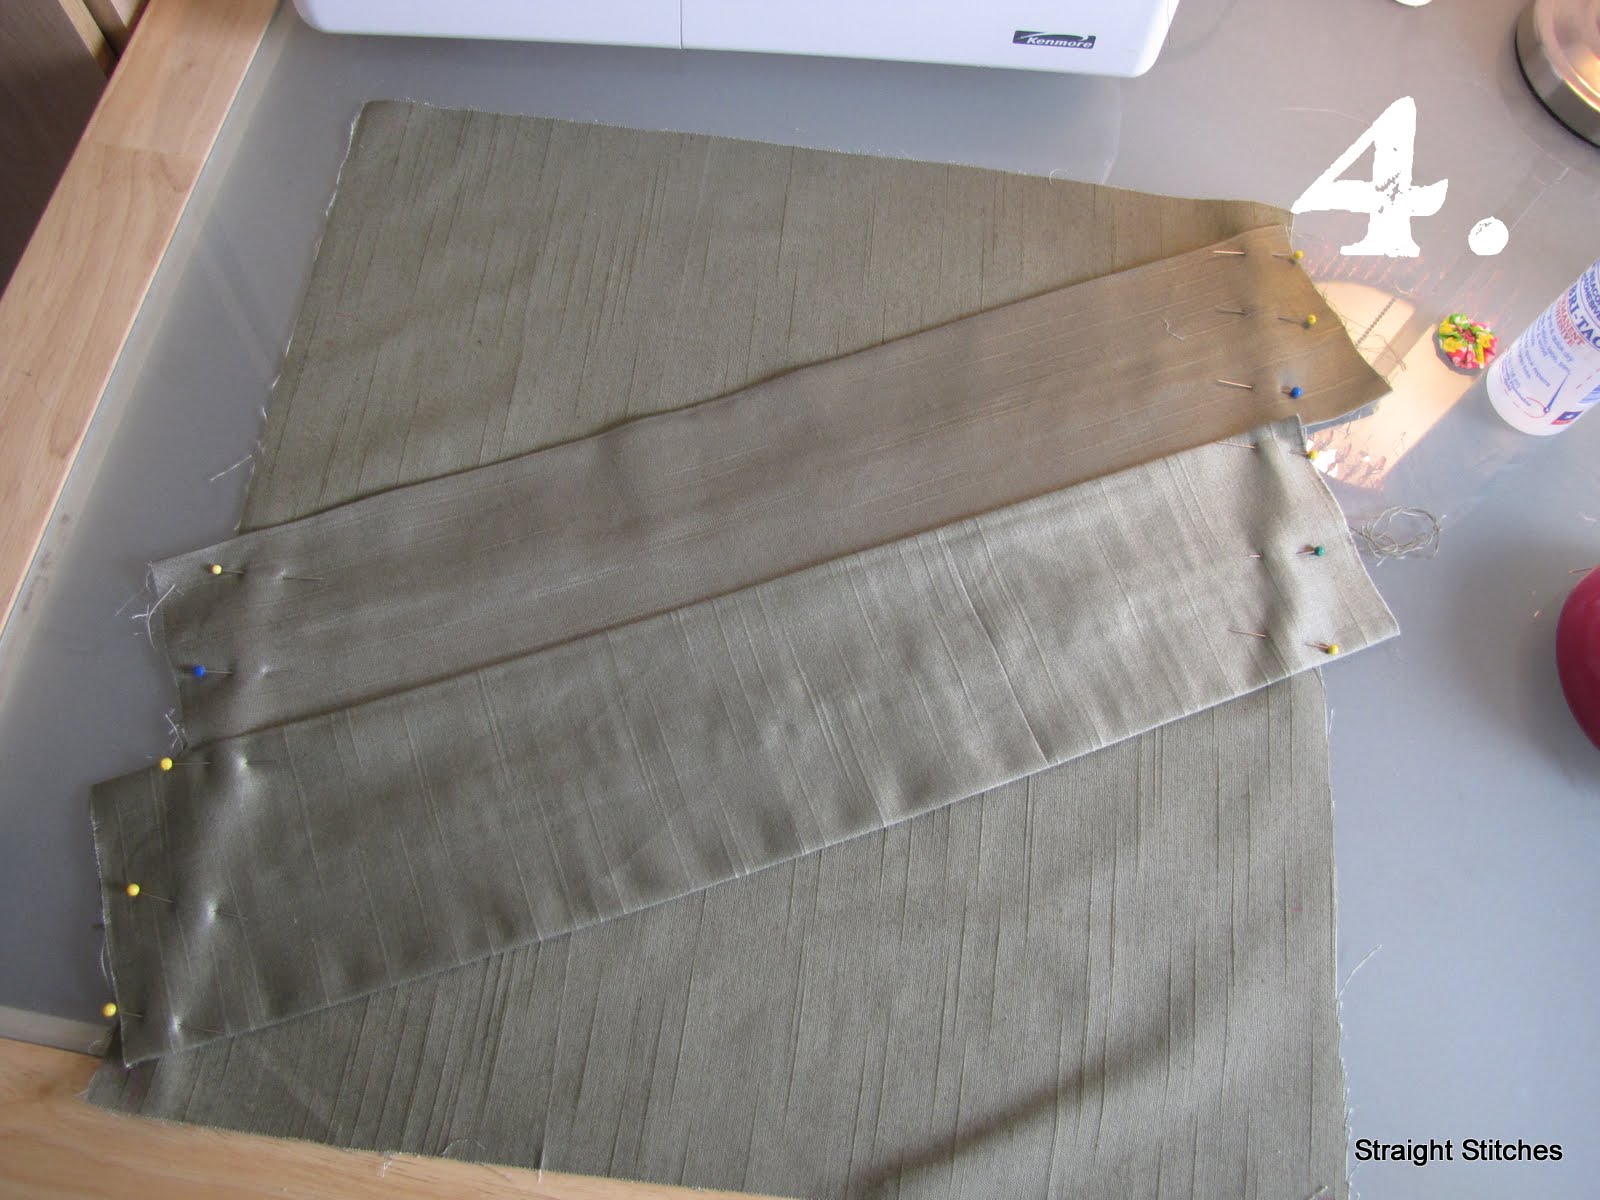
- Lay one rectangle down on the marked panel, with both right-sides up. Align the top edge of the rectangle with the upper right corner mark on the panel. Then line up the opposite corner with the 3rd mark from the top on the opposite side. Your rectangles will extend past the edges of the panel, this is ok. Pin your rectangle down. Lay the next rectangle directly below the first rectangle so that the edges are touching. Pin this rectangle down.
- Starting at the upper left corner mark, weave the rectangle through the previous two rectangles, with the new rectangle going over one and under the other. Align your woven rectangle with the marks as you did with the previous rectangles.
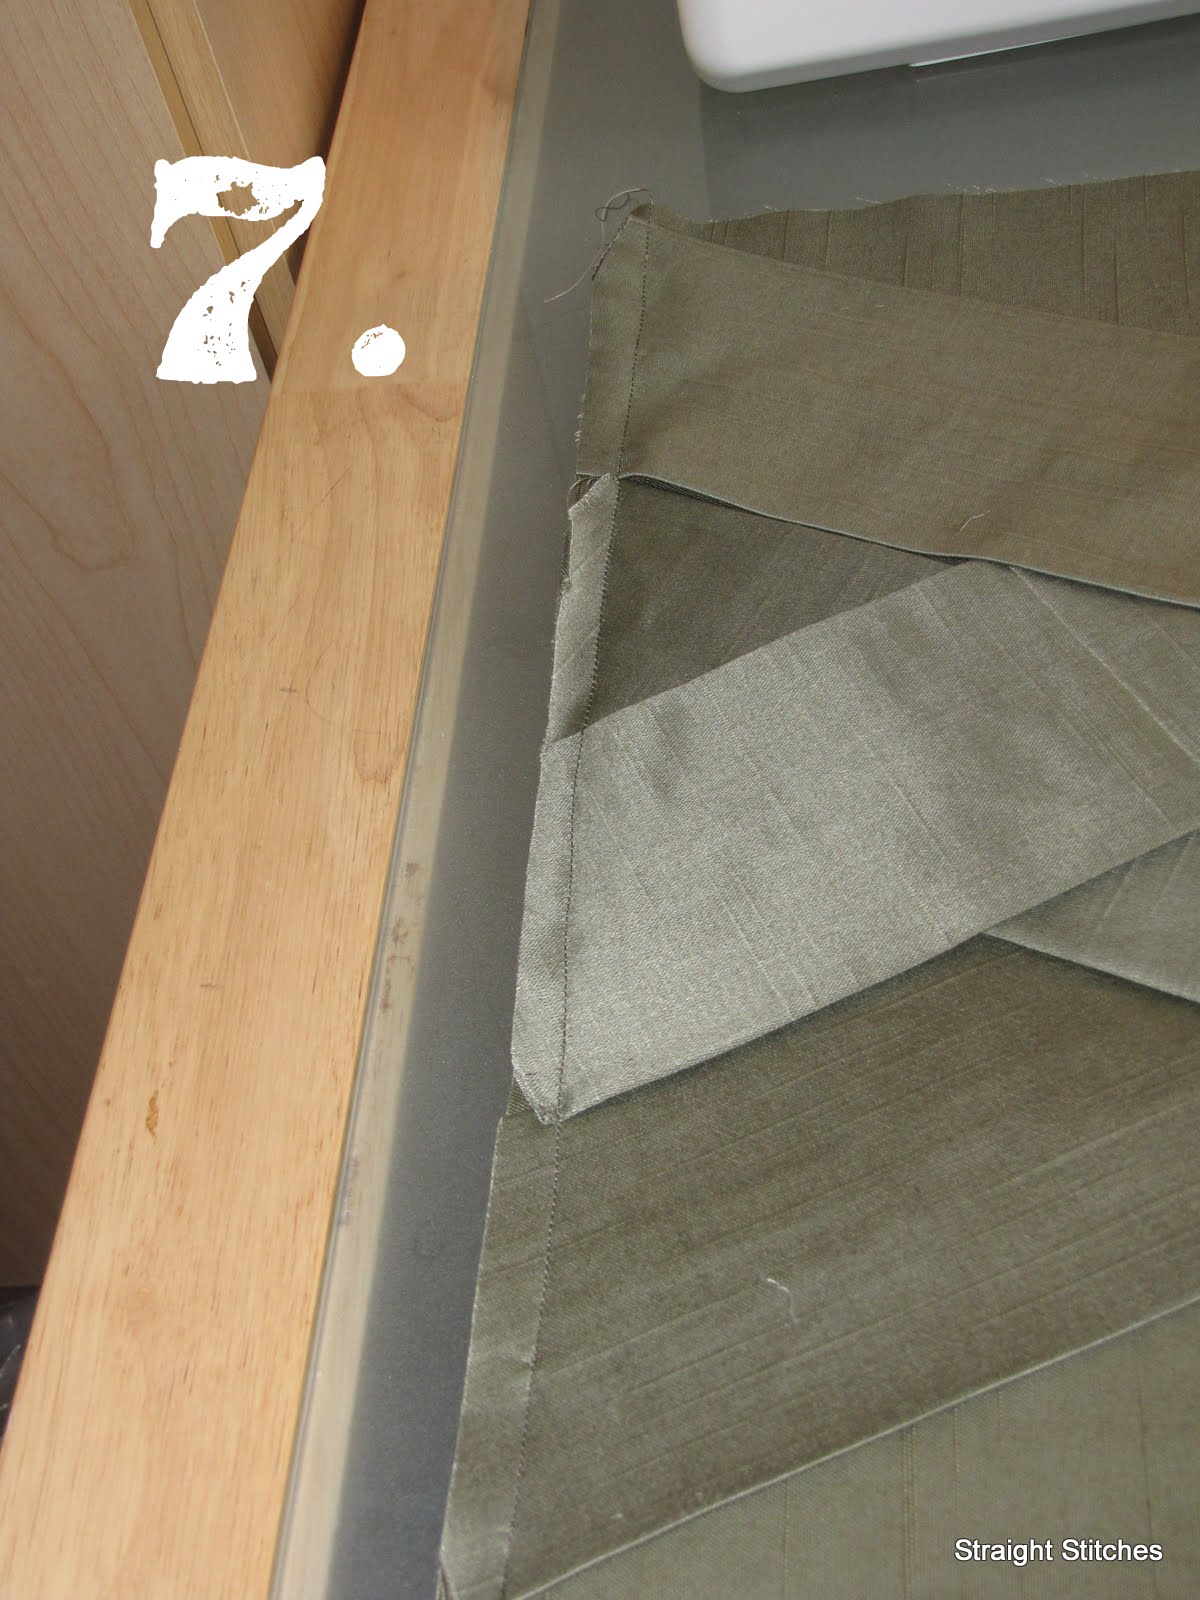
- Weave the last rectangle as you did previously, but alternating which rectangles go over and under. Pin as you did previously. Ensure that each rectangle is butted up against one another, and that none of your edge rectangles extend into the lower seam allowance. If you need to overlap some rectangles, do so. You should end up with a braided pattern on the panel.
- Baste a 1/2" in on each side of the panel, securing the rectangles. Trim the rectangles even with the panel edge.
- Pin the panels right-sides together, and stitch in a 5/8" seam; making sure to leave an opening for turning.
- Optional: If you want to have turkish corners on your pillow, as I do, then while the pillow is still inside-out place your finger into the corner and with your other hand squeeze the corner closed, with the seams aligned as closely as possible. Slowly remove your finger, while keeping the corner pressed together with your other hand. Stitch on the bias 3/4" from the tip of the seam allowance. Repeat for the rest of the corners.
- Turn pillow right-side out. Make sure the braid is on the right side of the pillow, you should not be able to see the seams, if you do then flip the braid to the other side of the pillow. Stuff with the pillow form. Slip stitch the opening closed. Small, frequent stitches seem to handle wear and tear better.


A couple of notes about my pillow:
My fabric is a reversible mid-weight drapery polyester shantung, so for the panels I choose the nubby, dull side as my right side, and then for the rectangles I choose the sateen side with a smoother texture. I like the interest that it creates.
Also, you're probably wondering about the 5/8" seam allowance. This is typically the standard seam allowance for clothing, however; I find that in pillows when you've made the seam allowance a 1/2" your pillow form is a little loose in places (you can see this looseness in the typography pillow), and for this pillow I wanted it to be a little plumper. The extra 1/2" that I gain in the seam allowances (a 1/2" is the total gained from the increased seam allowances), tightens the panels around the pillow perfectly. You, of course, can still do a 1/2" seam allowance.
You may have also noticed that my rectangles did not extend that far off the panel, and that is because I only cut my rectangles to 20" and that was cutting it close, which is why I'm telling you to cut them 22" long.
I hope that you enjoyed the reshare of this post!
Cheers!


No comments:
Post a Comment