Follow Us @SewHalfCrazy

Showing posts with label father's day. Show all posts

6/20/2011

How was your Father's Day?

6/20/2011 0 Comments
Did you do something nice for the Dad's in your life?

I did.

Not to toot my own horn, but the hubs made out pretty durn well this year. :)

Sears was having a sale. I've been wanting to get him a propane grill for FOREVER - I went to Sears.

Can you guess what happened next?

Yep, I bought that grill, and then had Mom deliver it home for me - cause it wouldn't fit in my car.

Steve was very happy, and I am super excited about all the yummy food he will be making us.

But since I gave him his gift days early, I didn't want Sunday to come without some fanfare, so I pulled out the cookbook, invited my folks and sister over for a Dad's day brunch.

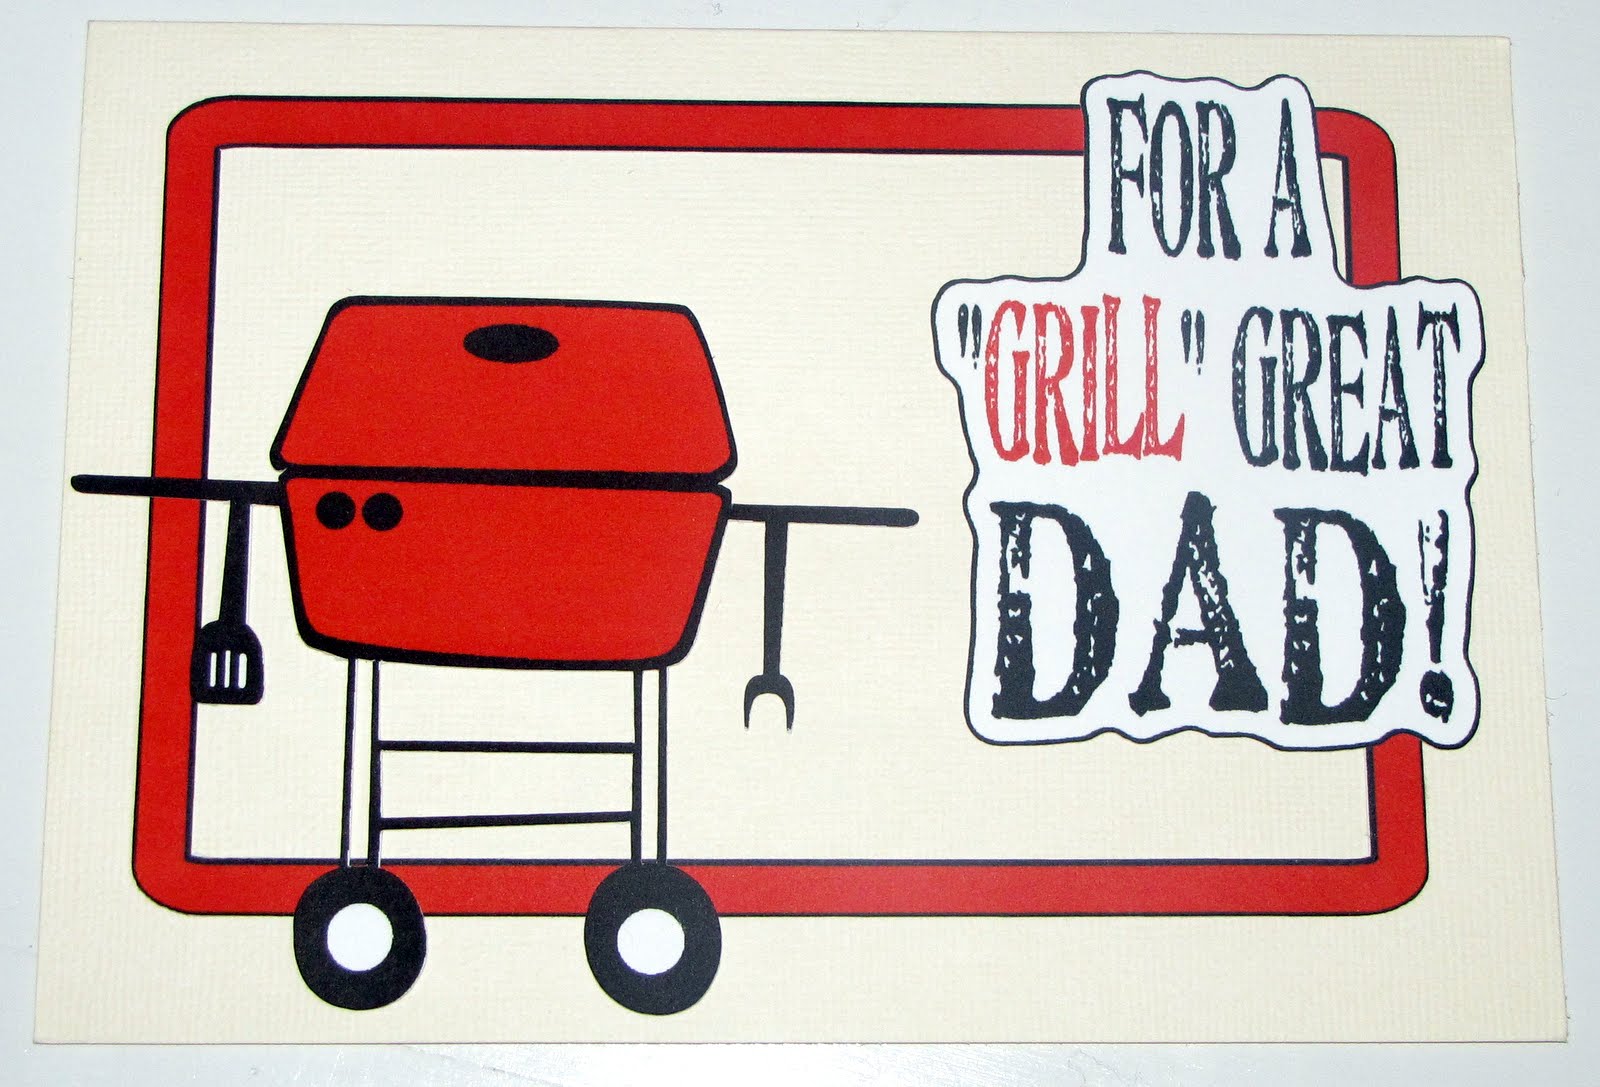
I will share tomorrow what we ate, because right now I'm going to show off the pretty cards that I made.

I did a google search for the sayings, they're not my own, but I still think they're cute.

Have I mentioned lately how much I love my Silhouette? The tie shape and the grill are both from their online store. Love.

Here's a close up of each card.
Hey look, my printer is running out of ink! Terrific! Oh well, I still ran with it. :)
The font I used on this card is one of my favorites. Its called Fulton Marker Light. I love the grunginess of it.

So tomorrow I will share the main event of the Dad's day brunch, but I hope you guys enjoyed my small creations today :)

Heather

6/03/2010

A Place to Rest your Drink?

6/03/2010 12 Comments
So I got another Father's Day gift knocked out today, and I'm very excited to share it with you all. I've been on a definition kick lately and since there are a plethora of baseball terms to choose from, I decided that we needed some baseball terms defined for these coasters. I also bought this Omni Transfer Medium a while ago, and have not had a chance to use it until now. Other than being messy, and probably needing to improve my technique, I'm very happy with how they turned out. :) So without further ado, on to the show!


Stuff you'll use:


4" square tiles
cork mat
Gorilla Glue
Omni Transfer Medium
Clip Art
Modge Podge

What you'll do:

Size the clip art to fit the tile. I would make the print about 3-1/2" square. Print out your clip art using a laser printer or copier. According to the transfer medium ink jet prints do not play well.

The directions on the medium say to paint three coats onto your image. First coat horizontally, second coat vertically and then the last coat diagonally. Let it dry between coats and then after the final coat.
This is the 2nd coat. The paper will wrinkle up and what not, but don't worry it'll work out. :) 
While your images are drying you can cut your cork to fit the bottom of a tile. I would cut the cork to slightly smaller than the tile.

I picked up the white gorilla glue. It said it dried twice as fast as the brown glue and was waterproof....probably useful given what we're doing. :) I wiped down the tiles with a damp cloth and then applied the glue to the backside. make sure to get close to the edges but not too close. Don't worry if the glue  expands past the edges, you can remove it later. Press your cork onto the back of the tile. You'll need to weight your cork and tiles down. So what I did was layer each tile/cork piece between a foam plate then on top of all that I placed a vase filled with gravel and flowers. It was a very lovely tower. :) After the glue dried, I went back and just picked off the glue that seeped from the edges. Your fingernail will do just fine.


When your images are nice and dry, trim around them leaving a 1/4" margin. Lay them in a shallow bowl, sink or Tupperware filled with water and let them soak for at least 20 minutes. After they've soaked for a bit, take one of the images out with the backside up, start rubbing the paper off. I would scratch the paper with my nail and then just rub my finger gently back and forth to remove the paper. Once I got all most all of the paper off, I put it back in the water and moved on to the next one.


After I finished rubbing the paper off all of the images with my finger I then went back with a lint-free towel and gently rubbed the backside again. This removed a little more paper. Let all of your images dry completely.
Don't do this. 
This works better. :) 
Once the images have dried, brush more medium onto the tops of your tiles. Then center your images over the tile and set into place. I burnished the tops and edges with my fingers (part of the mess mentioned earlier) to make sure there were no air bubbles or folds, etc. If there were I gently worked them out, or lifted the image and then laid it down again. Be very careful during this step because you can rip the image. After I was happy with how everything was set, I left them alone to dry. You can also trim the image if need be during this step.

I sealed mine with some modge podge after everything was said and done, just to create another moisture barrier. I don't know if this is necessary, but its what I did. :)


Place into decorative container and put them to work.
The obligatory coffee shot. :) 
I hope you guys enjoyed today's lesson. :) These were a lot of fun to make, and I'm sharing with you these images in case you want to make your own set of baseball coasters for the Dad in your life.
PhotobucketPhotobucket


Update!


I'm pleased to announce that this project is a DIY Club finalist!


Enjoy your day!

5/27/2010

Being a Baseball Widow

5/27/2010 8 Comments
I know some of you gals will sympathize with me about being a baseball widow, but I'm not just a baseball widow....I'm a red sox widow. *sigh* I know that Papi has hit 8 home runs recently despite early-in-the-season talk that he was in a slump. I know that Jacoby Ellsbury just came off the injured list after breaking some ribs. I don't know these things because I want to know them. I know them because my husband told me, because like any good wife I have learned enough about his interest to be able to have a conversation with him. I'm sure you all can empathize.


Harrison was born in October of last year. I got told that I could not give birth on a day that there was a game if they made it to the post-season. He was joking {I think}.

Its a little early for father's day, but I have decided that I'm going to do a baseball-themed father's day for Steve. This is the first project of this theme.  Don't ya'll find it a little easier to do gifts for someone if you have a theme? I do. :)

So it's another freezer paper creation, and it was TIME consuming, but worth it. :)


 Personally I think the chair wears the shirt better than the couch. :) I can't wait to get all of his gifts done. He's seen this one already, but he still has to wait. :) 

Here are some links to PNG images I made for you guys in case you all have a baseball fanatic or a Red Sox fanatic in your household. These would look lovely as a transfer instead of being painted on {and a lot simpler}. Just remember to mirror the image, because I didn't do that. Sorry. :) You could copy the definition and change baseball to any sport or anything else you might be fanatic about. :)

Photobucket

Photobucket

I hope you guys have a wonderful day!