Follow Us @SewHalfCrazy

Showing posts with label baby clothes. Show all posts

6/07/2016

Vintage Crochet Toddler Tunic

6/07/2016 0 Comments
Facebook is amazing. It provides a plethora of entertainment and ideas.

Like when one of the blogs I follow (One Dog Woof) made a post about another blog she follows (The Lavender Chair) posted up an adorable vintage-inspired crochet dress pattern. 

So after clicking through One Dog Woof's post, and then being led over to The Lavender Chair's original blog post with the pattern, I knew I had to make this dress. 

I had leftover yarn from my Key West Top {HERE} and figured I'd follow the pattern until I ran out of yarn, and if I ended up with a dress or a tunic - it'd all be good. 

As it turns out, I had enough yarn for a tunic and Baby Girl looks adorable in it! 


I opted not to add the ribbon belt, because I haven't' found a ribbon I like enough to put with it. I did find some great buttons at Walmart though. I truly love these adorable buttons. Since the picture isn't as fabulous as I thought it was, I'll tell you that they're little wooden flower buttons. 


Now if only Baby Girl would model properly for me. 

Cheers!

1/14/2014

Onesie Mania!

1/14/2014 0 Comments
What happens when you're motivated and inspired? You start churning out clothes for you and the kids in record time. Its a shame I haven't learned how to control time, because there is seriously not enough time in my day to work on everything that's floating around in my brain.

I'm going to show off 3 onesies I've made for Baby Rae today, but I've got 4 more in the works, plus shirts for the boys and I'll be showing off a shirt I altered for me tomorrow. Told ya, I've been busy.

Ever since we found out that Baby Rae was, well, going to be Baby Rae, I've been planning. Planning on everything that I want my sweet baby girl to wear. I blame my mother for this condition. My mom sewed for me. Lots of things, lots of dresses. Its my turn now! So here are the onesies I've churned out so far.

 This onesie was inspired by I Am Momma - Hear Me Roar.

 Everyone has seen the necklace onesies. I just did mine in metallic gold paint. No frills.


 This one was inspired by some of the vintage images on The Graphics Fairy! I printed out the light bulb and then copied it onto the onesie with my trustee sharpie. I added her initials to the light bulb just because. :)

I can't wait to show off what else I've been up to.
Heather

11/24/2013

Headbands and such

11/24/2013 0 Comments
So the other day I shared some of the hats I made for Miss Rae, and the problems I had fitting said hats to her head. I did not have such problems with her headbands.

The headbands I made her were much more forgiving. In fact, some of them fit better now than they did. Yay. I need more headbands for her, but luckily new head band ideas are occurring to me all the time. I just need to find the time to make them. This is a very busy time of year, between normal crafts and such and then the Christmas gifts I'm making......there is simply not enough time in the day!

Anyways, on to the little darlings I have gotten done. :)

I don't have patterns for these. I just kind of made it up as I went.


Maybe one of these days, I'll actually remember how I created some of these and share the pattern.

Heather

11/19/2013

Hats Galore!

11/19/2013 0 Comments
What is it about babies that brings about the need to have hats for them?

Even before we knew what flavor Reagan was going to be, I was planning on hats. Lots of hats. Babies need hats. Babies don't particularly like hats, at least not my babies, but they need hats because they're all born near or in winter.

Combine said need with the awesomely new found skill of crocheting and you've got a hat making monster on your hands.

There is a problem with hats tho. You never know how big the baby's head is going to be. Harrison had a evenly sized head. Right on track for his age. Devlin had a humongous head. Reagan takes after Devlin. She has a big head too. Its a cute head, but its still a big head. At 2 weeks old, her head circumference was 14". That's the size of a 3 month old's head!

So I have a bunch of hats that don't fit my baby girl's head, but that's ok, cause they're getting donated to local hospitals. I'm sure they'll fit some baby's head.

Of all the hats I made Rae, only 3 fit, and that's being generous. One doesn't fit that great, and she hates it. The other 2 she likes tho! Score 1 for Mom!

So the first hat I made her was this adorable ear flap hat from this Micah Makes Pattern. I love this pattern. I have made hats for the boys and the hubs from this pattern and its perfect every time. I've also started to change it a bit, because I like more pointy ear flaps, but that's just personal taste. So here's the hat I made for Reagan from this pattern. I love the pom pom!


The next hat is another one I love, but I did have to alter the pattern a bit (and I don't remember what I did) because it wasn't coming down far enough over her ears for my taste. Its inspired by this hat from Alli Crafts.

Obv, I had to add a little bling to it. I do love me some sparkly buttons! Its also fun playing dress up with the baby girl. Old Navy and I have been friends of late. Love the sparkly cords to go with her sparkly hat!


Ok so those are a few of the hats that have been made for miss. As she grows I guess I'll have to start banging out some more hats for her. :) Oh but I haven't even shown off the headbands yet, so I guess that'll be another post. :)

Heather

7/06/2010

The 3 Amigos!

7/06/2010 1 Comments
So on the 4th, Harrison, Dev and Dad were all wearing Hawaiian shirts. These shirts all came from the same pattern. Simplicity 3852 .
The 3 Amigos....plus Tres' cause Dev wanted to be held as well. :) 

Harrison spent the night at Mom's house yesterday. It was easier...he fell asleep before the fireworks. You know he is only 9 months old, so it made sense. :-) So yesterday morning when I was picking him up I told Mom that I was going to do a review/post about that pattern. Her first comment was that the pattern instructions were flooky. Yes....FLOOKY. It's a proper word.....if you're a female in our family :) I had the same opinion. The guide sheet is written badly. It was hard to follow and the illustrations were awful.

Obviously, Mom and I got the shirts made, but not without complaint and drawing on years of experience. One of my biggest pet peeves was the side/underarm seam. It's easier, I know, but rather than sewing up the side/underarm seam and then pressing and finishing the hem on the sleeve, I feel like it would have been simpler to simpler to press up the hem on the sleeve and then press under the raw edge while the sleeve was still open. Don't stitch it, just press it. Then sew up your side/underarm seam and stitch close to the inner edge on the hem. Granted, on the onesie there is not a lot of room for maneuvering that sleeve around the sewing machine and it's going to be a pain, but at least the finishing on the sleeve would have been made slightly easier, than trying to manipulate the fabric with such a small opening.
 We have two picture here because H is  smiling in one, but Dad is talking, and the other Dad has stopped talking, but H is not smiling......Oiy. Picture taking is a tricky science.

Overall, the pattern looks nice on the guys, if not a bit billowy on H. According to his weight and length he just made it in a medium size {all the sizes are in one envelope from mens to babies} but knowing how long the kid really is...I said I'm going to cut out the length as a large and then the width as a medium. I would have been better just doing the medium. Luckily with the billowy-ness of the pattern there was plenty room for him to squirm and squat without getting tangled up in it. Oh and Harrison's onesie was supposed to have 5 buttons, but I only added 4 because I never button him all the way up to the top, so why waste the button?

I would probably not recommend this pattern to a beginner sewer, just because of how badly the guide sheet is written, but if you've got some shirts under your belt then I'm certain you could navigate your way through it. :)  Oh I almost forgot!!! H's outfit was a 1 yard wonder! Even better, I scored the challis in the remnant bin from Hancock for $1.21! The buttons are from Walmart at a whooping $.97. Can't beat a $2.18 outfit. :)

Have a wonderful day and go sew something!
Heather

4/12/2010

Another Frilly Frock!!

4/12/2010 4 Comments
Having fun with Mom!
Who is not to be confused with Mommy....
we are different.
This post is not about something I've made. This entry is about something my mom made. My mom has been sewing for as long as I can remember and then some. :) I know she made her wedding dress, and she and Dad just celebrated 31 years together. I also know that she made some of her clothes in the 70's. If I thought it was hard to find clothes to fit my 6'2" frame in the 90's, I don't want to try and imagine finding clothes for a 5'10" frame in the 70's. :) My mother was quite spoiled in the fact that she had 3 girls to sew for, because now all I hear is how hard it is too find cute boy patterns that she can enhance with embroidery or appliques'. Especially since Dev is getting older and is getting vocal about what he likes. How many shirts have you appliqued with Yoshi, Mom?
Mom lets us get away with
E.V.E.R.Y.T.H.I.N.G!

Answer - a few....So on with the show!

Mom has got a stash of fabric that could probably clothe all of the babies that we know for the first few years of their life, so when she busted into it she found a gem of a fabric. Not too girly, but perfect for warmer weather. Mom did amp up the girly factor with some of the multitudes of lace she has stashed. Now the dress is not done yet as she has not yet decided on buttons, but everything else is complete. Its is too cute for words. I, personally, love the bloomers!

Now, I bet you're wondering who this dress is for. Well she made identical (except for the lace) dresses and bloomers for two of my girlfriends' baby girls. One of them is Pink Baby and the other is CJ. I hope they love their frilly little frocks as much as I do! Almost makes me want a girl, but I love me some boys!


The bodice is lined in a soft white cotton. The back closes with two buttons,
leaving back of the skirt open to show off those cute bloomers!

Very simple front, but I love the gathered skirt.
You can't see it, but the bottom of the skirt is edged in the same  lace as on the panties.

 Look at all those frills!

I am linking this up to:


 I hope you enjoyed reading, and have a wonderful day!

4/11/2010

Introducing.........Pink Baby!

4/11/2010 1 Comments
First I must apologize for the {bad} quality of these pictures. They're from my cell phone and the lighting in the McDonald's play area was bad awful, but Pink Baby (aka P.J.) looked gorgeous. The outfit is too big for her, but cute nonetheless. She is the same size as H, but 3 lbs lighter. She's a skinny-minnie. Hopefully by the time that summer weather returns the dress will fit, but at least it will fit for a while! So enjoy! Hopefully I can get some good quality pictures soon.


Front and back views. adorable. simply adorable! 


I did not get a good shot of the hat, but as you can see H was wearing his matching hat (Mom made his).
Such cutie patooties!

I would also like to thank Jen from Tater Tots & Jello for featuring this outfit in her weekend wrap-up party. As everyone knows....Its nice to have your hard work recognized! If you haven't already, then head on over to TT&J and check out her wondeful blog!

Enjoy this lovely Sunday!

4/09/2010

Pink Baby's gonna look good!

4/09/2010 9 Comments
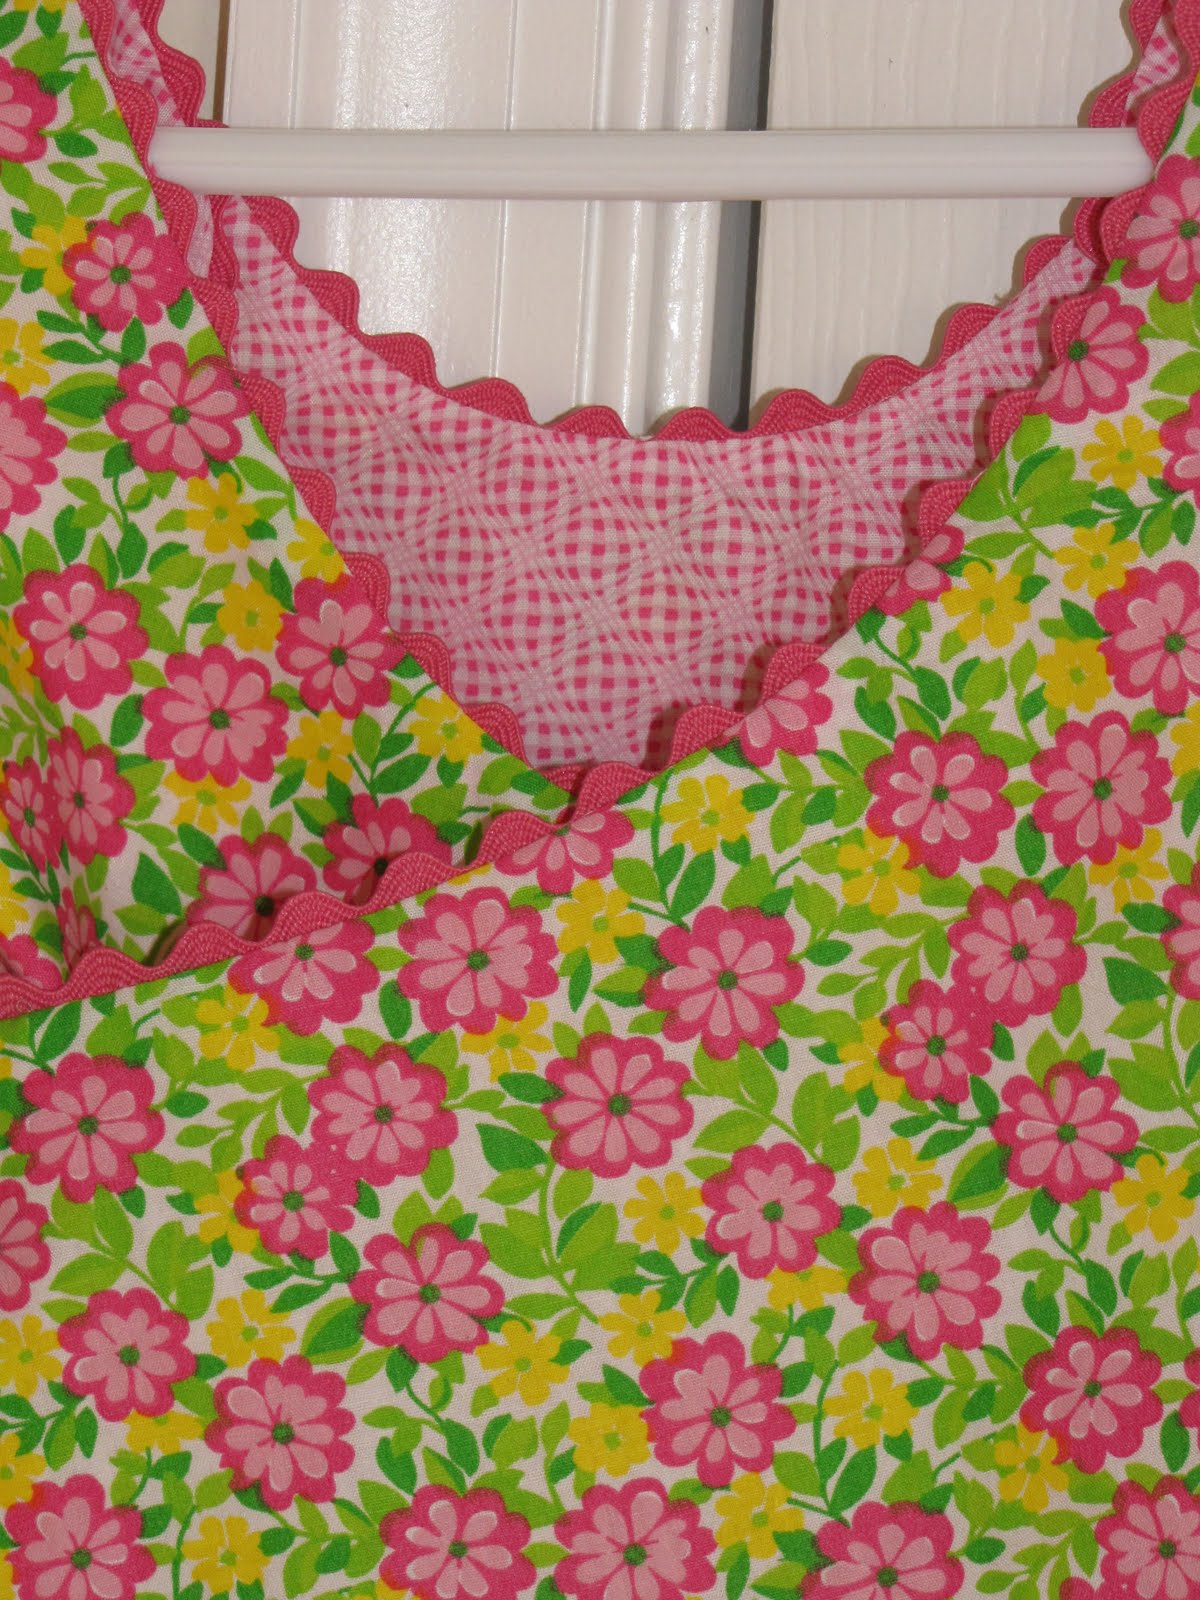
Well Pink Baby's dress is DONE, and if I do say so myself, it looks awesome! I had a lot of fun making it. I forget how fast baby clothing goes together. The pattern I used was Butterick 5439 and I will definitelly have to make it again for the babies (it does have some rompers suitable for boys).

I am in LOVE with the hat. Not only was it super simple to put together but it's also very easy to customize. My mom has made two of these hats for  H, and around the band she added some elastic. I did not realize until today that the elastic was not a part of the pattern, and now (damn you, hindsight) I see why. I may have to add some elastic to my hat, but we'll see how tomorrow goes. 

I had one oops during construction but it ended up being a good thing. You need a lot of ric rak for this dress I ended up with 3 packages and maybe have half a package left.

Can anyone spot my oops?

Yep....different sized ric raks. Now that could have been a problem if I'd not noticed after I finished off the first package going around the dress. So after a quick trip (yea right) to Jo-Ann's, I was able to finish off the trim to the dress with enough left over for the panties and then the hat.

I ended up using the jumbo ric rak around the pockets and the hat. I like the looks of the larger size around some of the smaller details. I also think it helps focus your eye when you look at the pink wavy fabric. :) I should also mention that the larger trim was easier to manipulate on the pocket because it is more forgiving for your stitching area. I lined up the trim so that the bottom curve of the trim was just covering the stitching line. That way when it came time to turn the trim to the outside, it gave me the most room for error if I strayed towards the inside.

Instead of stitching the ric rac around the band of the hat, I decided to glue it. I like to use Aleene's Fabri Tac. It's washable after  24 hours, dries clear and adheres almost instantly. There is very little down time with this glue. It also stands up to abuse. I've had to patch some loose fibers on throw pillows and the bond has survived Dev and his fort-building. As you can see I was able to finish the ric rac off nicely with the glue as well.  Tip - I made sure to apply glue to the cut end of the trim so it wouldn't unravel, then I folded it under and lined it up so that it is hardly noticeable.
After the trim was on the hat, I decided that it needed more. I added 2 more rows of  top stitching to the brim (which you can hardly see in the picture, but it's there), and then decided that it needed something more.
On to yo-yo's!

I had thought that one small yo-yo would be nice. So pulled out my template. The bottom of a coffee mug. My coffee mug. If you have been paying attention to the blog then you may have noticed that more than half of my pictures include coffee; either in one of the mugs from this set, or in a commercial cup. I. am. a. coffee. fiend. I have a problem and I'm okay with that. Now moving on. So I traced my circle and then cut it out, kind of. Its not a perfect circle, but it'll do.

[insert random movie quote] That'll do Donkey. That'll do. [/insert]

So I know you're supposed to hand-stitch the yo-yo, but I'm lazy. So I set my machine up for a long basting stitch and then stitched a 1/4" in from the edge. Then I folded the edges over to the stitching and pinned it down. I pressed the iron down over the pins. I did not move the iron from side-to-side because I did not want to risk accidentally folding the fabric back up. Just a note - the circle in the picture is not the first yo-yo, but more on that later.
 

So after removing the pins, I pulled up the stitches and tied them up. Placed a button on the center and started having second thoughts. Its really small, but maybe it'll work. So I hand tacked the yo-yo onto the hat, and hated it. Like the idea, not the look. It's too small. On to the next idea.

So here's where I'm going to do a bit of complaining. My camera ate some of the next pictures I took. In reality, the batteries were dying and I didn't notice until later, much later. [grumble]

I decided on that the hat needed 3 yo-yo's. Two of one size, and then one bigger one. I used a cd for the big yo-yo and this canister (thank you Ikea) for the two smaller ones. After assembling the yo-yo's as I did before I test placed them on the hat. After playing with some configurations I decided on this one:

So that I'd know where to tack them, I jabbed my fabric pen down into the center of the yo-yo several times. I use a water-soluble fabric pen and had discovered while making my marks earlier on the fabric that it would bleed through several layers. This will not work with every fabric, but it is helpful when it does work. For fabrics that it don't bleed, then you would place a pin down the center of the yo-yo and then mark where the pin is on the inside of the hat. When you go to tack it, just bring the needle up through the inside of the hat and then through the center of the yo-yo.  The pin in the picture is marking the center front so that I could keep straight where I wanted to put the yo-yo's because my eyes kept going wonky because of the print on the fabric.

I knew I wanted put the pink button on the big yo-yo and then found some leftover pearl buttons for the smaller yo-yo's. The pink button is leftover from the dress, and is from my mother's button stash that I raided for the button sphere. I love how the buttons help play up the girly factor on the hat.


Here are some shots of the pretty get-up!


Here's the back of the completed dress. I love how it criss-crosses!


The dress is lined so it has a nice finished look all the way around. Made finishing it very easy!


If I could put ruffled pant(ies) on H, I probably would, but the hubby would complain (loudly). :)

Here are all 3 pieces. I love the look. :)

I hope you guys enjoyed this little novel, and with any luck I will have pictures of pink baby when the summer weather returns. Hopefully she'll be able to wear it soon. I made it so that she can wear it when she's 9 months old, which should put us smack dab in the middle of summer.

I'm linking up to:
Join us Saturdays at tatertotsandjello.com for the weekend wrap up party!The Girl CreativeVisit thecsiproject.com


Enjoy your day!