
 Well Pink Baby's dress is DONE, and if I do say so myself, it looks awesome! I had a lot of fun making it. I forget how fast baby clothing goes together. The pattern I used was Butterick 5439 and I will definitelly have to make it again for the babies (it does have some rompers suitable for boys).
 I am in LOVE with the hat. Not only was it super simple to put together but it's also very easy to customize. My mom has made two of these hats for H, and around the band she added some elastic. I did not realize until today that the elastic was not a part of the pattern, and now (damn you, hindsight) I see why. I may have to add some elastic to my hat, but we'll see how tomorrow goes.

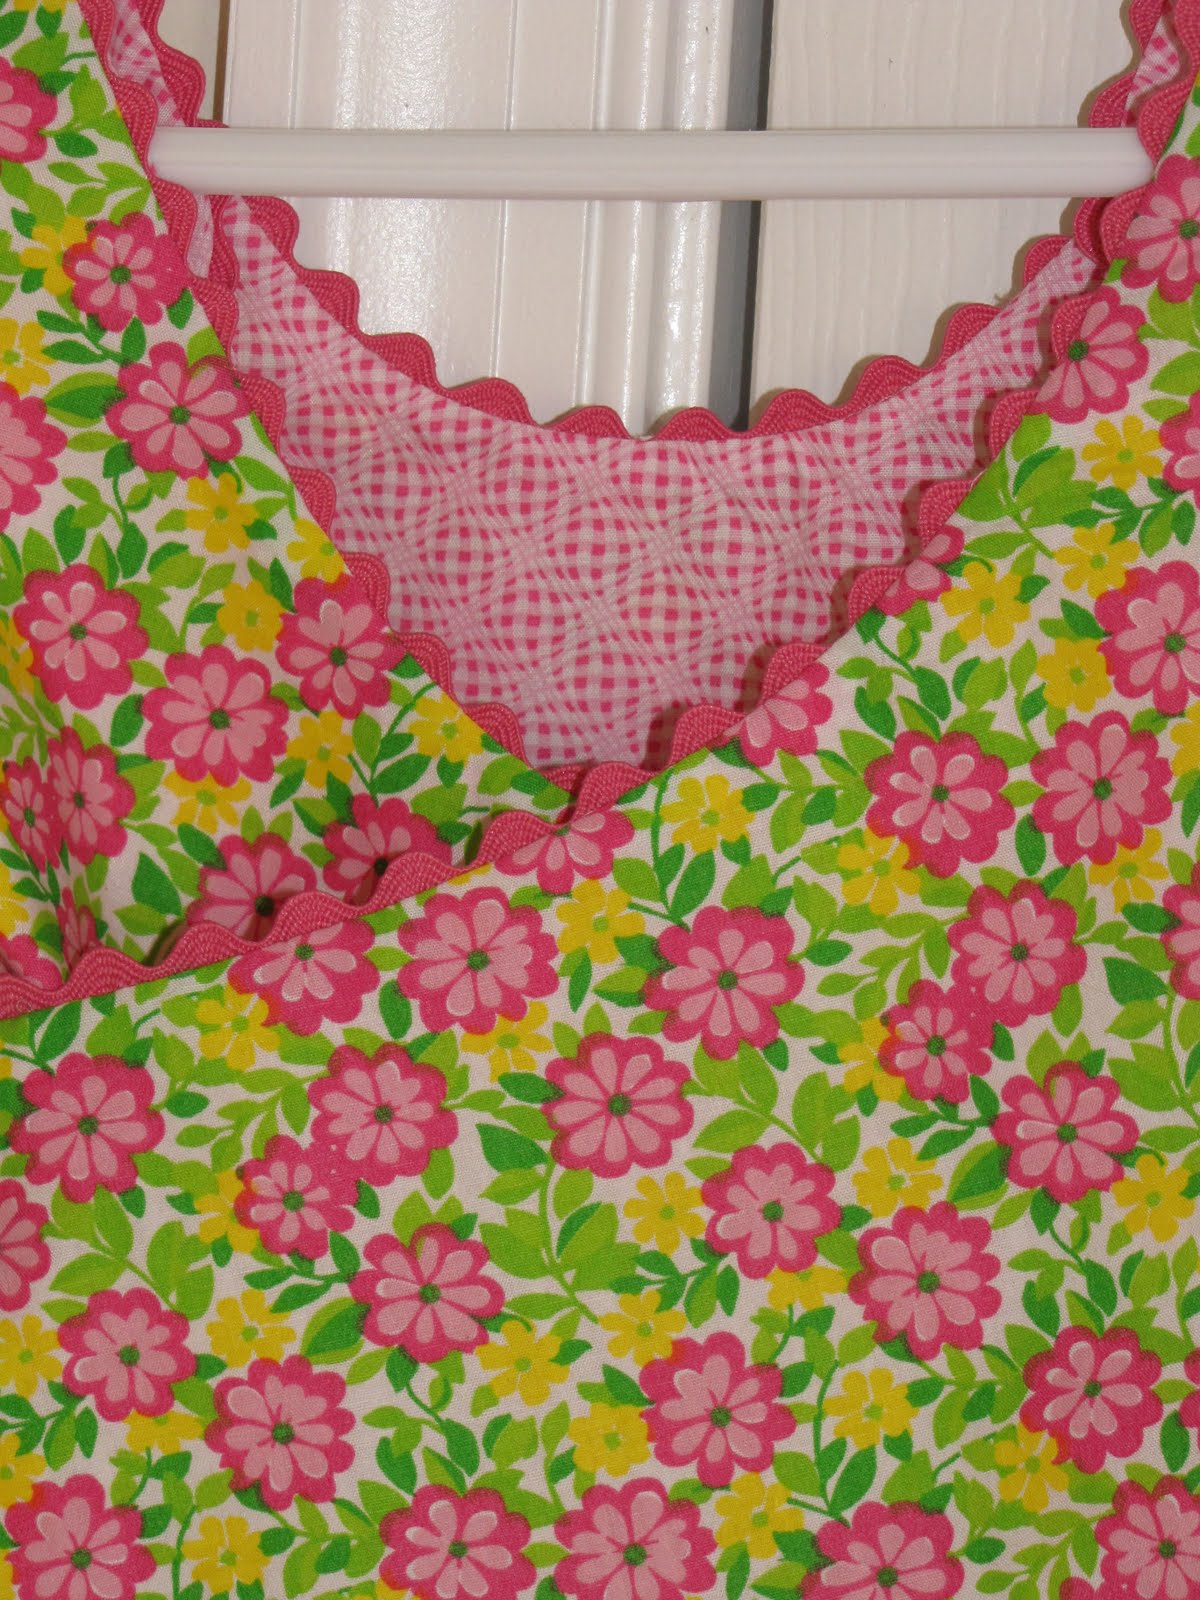
I had one oops during construction but it ended up being a good thing. You need a lot of ric rak for this dress I ended up with 3 packages and maybe have half a package left.
Can anyone spot my oops?

Yep....different sized ric raks. Now that could have been a problem if I'd not noticed after I finished off the first package going around the dress. So after a quick trip (yea right) to Jo-Ann's, I was able to finish off the trim to the dress with enough left over for the panties and then the hat.
 I ended up using the jumbo ric rak around the pockets and the hat. I like the looks of the larger size around some of the smaller details. I also think it helps focus your eye when you look at the pink wavy fabric. :) I should also mention that the larger trim was easier to manipulate on the pocket because it is more forgiving for your stitching area. I lined up the trim so that the bottom curve of the trim was just covering the stitching line. That way when it came time to turn the trim to the outside, it gave me the most room for error if I strayed towards the inside.
  Instead of stitching the ric rac around the band of the hat, I decided to glue it. I like to use Aleene's Fabri Tac. It's washable after 24 hours, dries clear and adheres almost instantly. There is very little down time with this glue. It also stands up to abuse. I've had to patch some loose fibers on throw pillows and the bond has survived Dev and his fort-building. As you can see I was able to finish the ric rac off nicely with the glue as well. Tip - I made sure to apply glue to the cut end of the trim so it wouldn't unravel, then I folded it under and lined it up so that it is hardly noticeable.
 After the trim was on the hat, I decided that it needed more. I added 2 more rows of top stitching to the brim (which you can hardly see in the picture, but it's there), and then decided that it needed something more.


I had thought that one small yo-yo would be nice. So pulled out my template. The bottom of a coffee mug. My coffee mug. If you have been paying attention to the blog then you may have noticed that more than half of my pictures include coffee; either in one of the mugs from this set, or in a commercial cup. I. am. a. coffee. fiend. I have a problem and I'm okay with that. Now moving on. So I traced my circle and then cut it out, kind of. Its not a perfect circle, but it'll do.
[insert random movie quote] That'll do Donkey. That'll do. [/insert]
[insert random movie quote] That'll do Donkey. That'll do. [/insert]
 So I know you're supposed to hand-stitch the yo-yo, but I'm lazy. So I set my machine up for a long basting stitch and then stitched a 1/4" in from the edge. Then I folded the edges over to the stitching and pinned it down. I pressed the iron down over the pins. I did not move the iron from side-to-side because I did not want to risk accidentally folding the fabric back up. Just a note - the circle in the picture is not the first yo-yo, but more on that later.
So after removing the pins, I pulled up the stitches and tied them up. Placed a button on the center and started having second thoughts. Its really small, but maybe it'll work. So I hand tacked the yo-yo onto the hat, and hated it. Like the idea, not the look. It's too small. On to the next idea.
So here's where I'm going to do a bit of complaining. My camera ate some of the next pictures I took. In reality, the batteries were dying and I didn't notice until later, much later. [grumble]

I decided on that the hat needed 3 yo-yo's. Two of one size, and then one bigger one. I used a cd for the big yo-yo and this canister (thank you Ikea) for the two smaller ones. After assembling the yo-yo's as I did before I test placed them on the hat. After playing with some configurations I decided on this one:

So that I'd know where to tack them, I jabbed my fabric pen down into the center of the yo-yo several times. I use a water-soluble fabric pen and had discovered while making my marks earlier on the fabric that it would bleed through several layers. This will not work with every fabric, but it is helpful when it does work. For fabrics that it don't bleed, then you would place a pin down the center of the yo-yo and then mark where the pin is on the inside of the hat. When you go to tack it, just bring the needle up through the inside of the hat and then through the center of the yo-yo. The pin in the picture is marking the center front so that I could keep straight where I wanted to put the yo-yo's because my eyes kept going wonky because of the print on the fabric.
I knew I wanted put the pink button on the big yo-yo and then found some leftover pearl buttons for the smaller yo-yo's. The pink button is leftover from the dress, and is from my mother's button stash that I raided for the button sphere. I love how the buttons help play up the girly factor on the hat.


Here are some shots of the pretty get-up!

Here's the back of the completed dress. I love how it criss-crosses!
The dress is lined so it has a nice finished look all the way around. Made finishing it very easy!

If I could put ruffled pant(ies) on H, I probably would, but the hubby would complain (loudly). :)

Here are all 3 pieces. I love the look. :)
I hope you guys enjoyed this little novel, and with any luck I will have pictures of pink baby when the summer weather returns. Hopefully she'll be able to wear it soon. I made it so that she can wear it when she's 9 months old, which should put us smack dab in the middle of summer.
I'm linking up to:


Enjoy your day!


Wow - you did an awesome job! It is just adorable!
ReplyDeleteXOOX
Jen
I saw your project on Tatertots. Excellent job!
ReplyDeleteVery precious! I love it all...and the hat just makes it perfect! ♥
ReplyDeleteI love that hat pattern....Harrison has a couple already that my mom has made him. Its so simple. I think I may have to do a post about 'boying' it up :)
ReplyDeletethank you for all the wonderful comments!
That is absolutely precious. Sigh...maybe someday one of my four adult (and still unmarried) kids will give me a grand daughter so I can make cute things like this for her. It's like something from a boutique!
ReplyDeleteSoooo cute! Love the little bloomers!
ReplyDeletethat is super cute - I love knowing if a pattern comes out right or not. I am having a link party tomorrow (Tuesday) and I'd love to see you there! www.craftedition.blogspot.com
ReplyDeleteGreat job! I have never used ric-rac, but you make it look do-able!
ReplyDeleteRic rac is a great trim and its forgiving! What's better is that it's unisex. I have used it in both my boys rooms as apart of their decor and some of their outfits.
ReplyDeleteThank you for all of the comments!