

Harrison is teething. They (whoever 'they' is) should rename teething to - your baby will be miserable for most of the next year, because he's in pain and he would like to share his pain with you - loudly. Ok, so that's a little long, and I know my little guy is hurting and I feel for him, but I really can't wait till his teeth are all in! If I had been able to just sit and work the pillow probably would have taken about an hour, but instead, I worked on it piece meal throughout the day.
So here's what I used:
1 yard fabric
16" round pillow form
24" ruler
Fabric Glue
What I did:


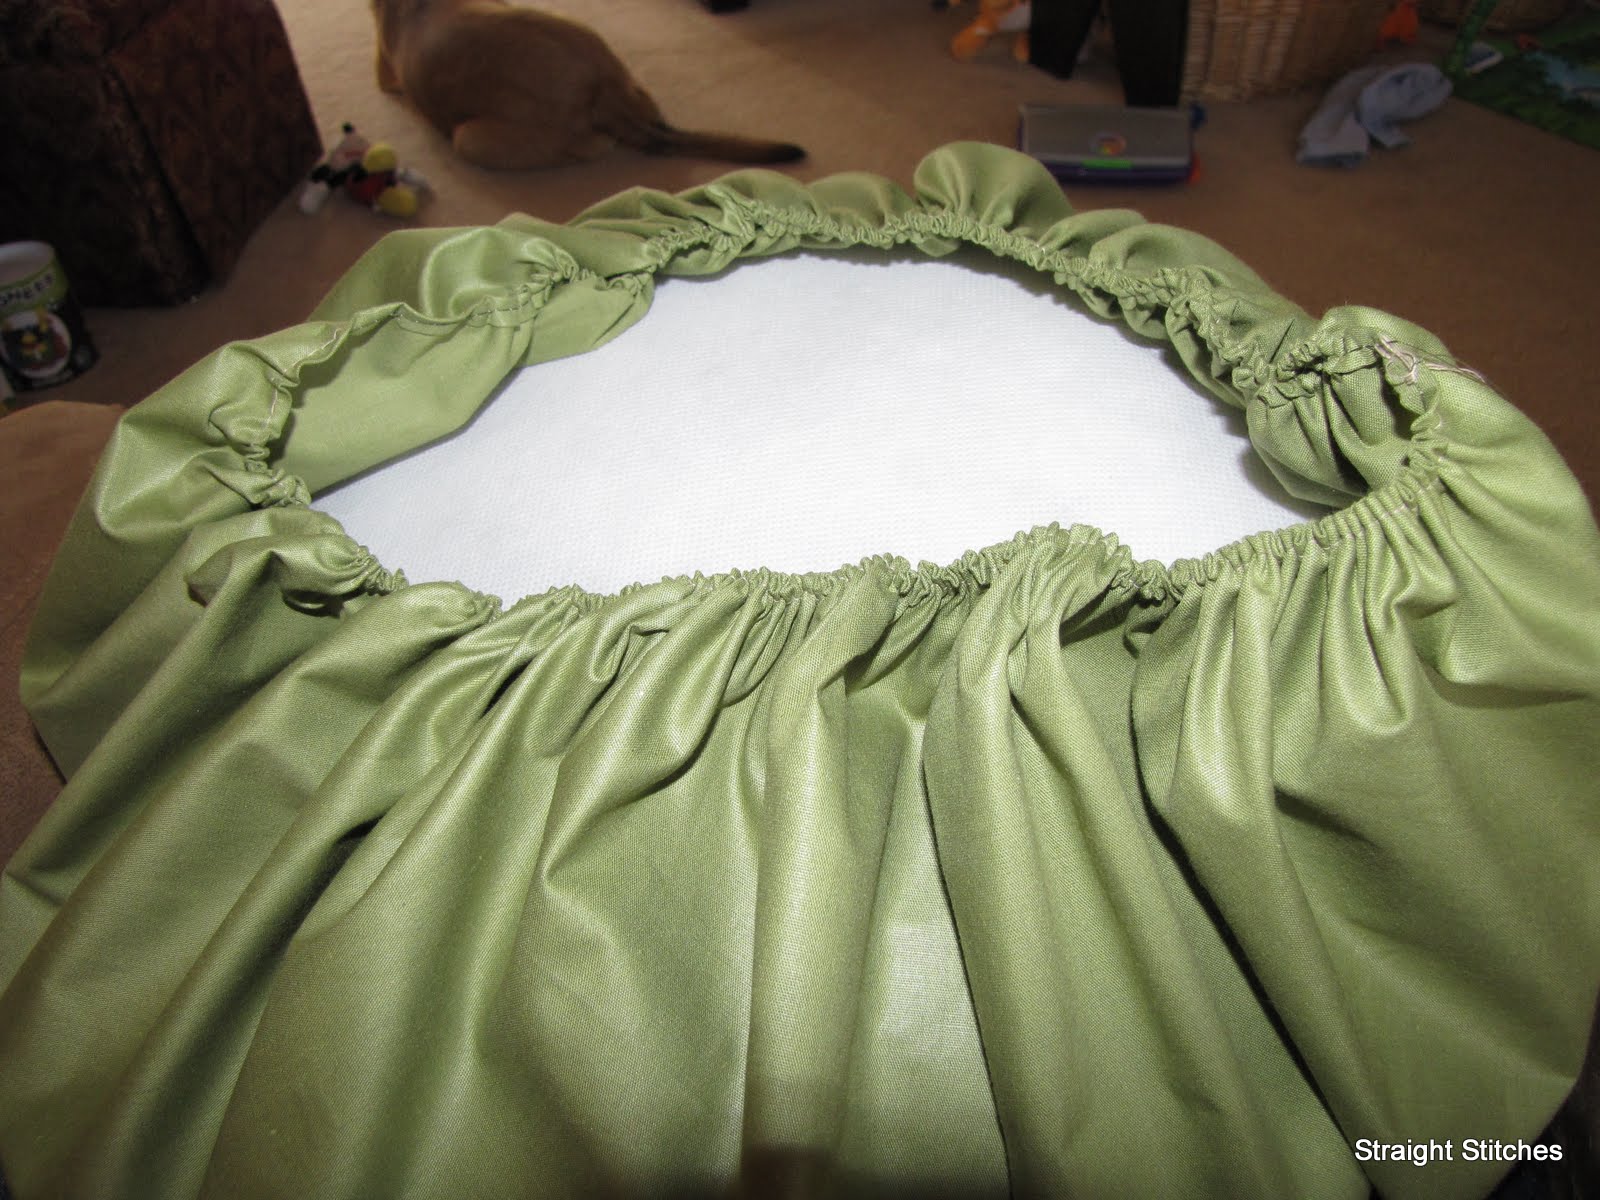


Use a long basting stitch 1/8" from the edge, making sure to leave a long thread after trimming. Place your pillow form in the center of your fabric, then gather up the edges. Your pillow will still be very loose. Don't worry we'll tighten it up.

After tying off your gathering threads, take two opposites sides and smush them together with your fingers, then stitch an inch on either side of the center. You don't have to be exact here.
 |
| Don't get distracted by Care-Bear lying on the floor! |


Pull the remaining sides away from each other and then fold them back to the center, making sure to tuck the extra fabric underneath. Stitch those sides together and tie off.
 |
| That's a hot mess! Don't worry, they're just the strips for the rosettes! |
 |
Can you believe that I did not know how to make a fabric flower before today? |
Cover the seam with flowers, buttons, ribbons, bows - really whatever you think of. I finished mine with fabric flowers. I followed Made by the Mama Monster's Tutorial for Frayed Rosettes. I used the leftover fabric from the pillow cover, and then wrapped them as she instructs. I used Beacon Adhesives Fabri-Tac glue instead of the hot glue, and it worked just as well. I also used the Fabri-Tac to secure them to the pillow.


I hope you enjoyed this little tutorial today! I had a lot of fun making it, even if I did have a "what do I do now" moment after the gathering was not as tight as I figured it would be. :)

I'm linking up to:


 >
>


this stuff is the bomb..seriously!
ReplyDeleteThis is so cute! I linked back to you on my blog. www.jandeecrafts.blogspot.com
ReplyDeleteI love how it's almost wrapped like a package. Will have to try this out:) Thanks for linking up to Craftastic Monday!
ReplyDeleteOh my gosh! I love it! I have never made fabric flowers yet either, but it is on my to do list! This might just give me the jump start that I need to make them. Your pillow is so CUTE! Thanks for linking up to Hoo's Got Talent!
ReplyDelete