
 |
| Not a lot of space to write... |
 |
| It's not a bad menu, we just don't use it. |
I didn't do anything spectacular really for this new menu area, but I'll still walk you through it.
I made this menu board a few years ago, but it rarely gets used. So I removed the wooden letters and sanded it down to remove the rough spots.

 |
| Oops, didn't mean to break the E. I fixed it though. |
Gave it a quick coat of ORB and let it chill.
 |
| Mmmm....sparkly, shiny. I love ORB. |

Printed it out and then headed back downstairs. I trimmed off all the white on the page, and then used the mat board that I had in the frame originally as a backing, but with the edges trimmed you can see the mat board behind it. Time to pull out the ruler and center it. At least the chalkboard paint makes a nice contrast to the green, and it was free. :)

A quick spritz of some spray adhesive to the back of the planner and then back onto the mat board. Pop everything back into the frame and write-out my ever-growing grocery list. I also added some notes to dates that I know are coming up.

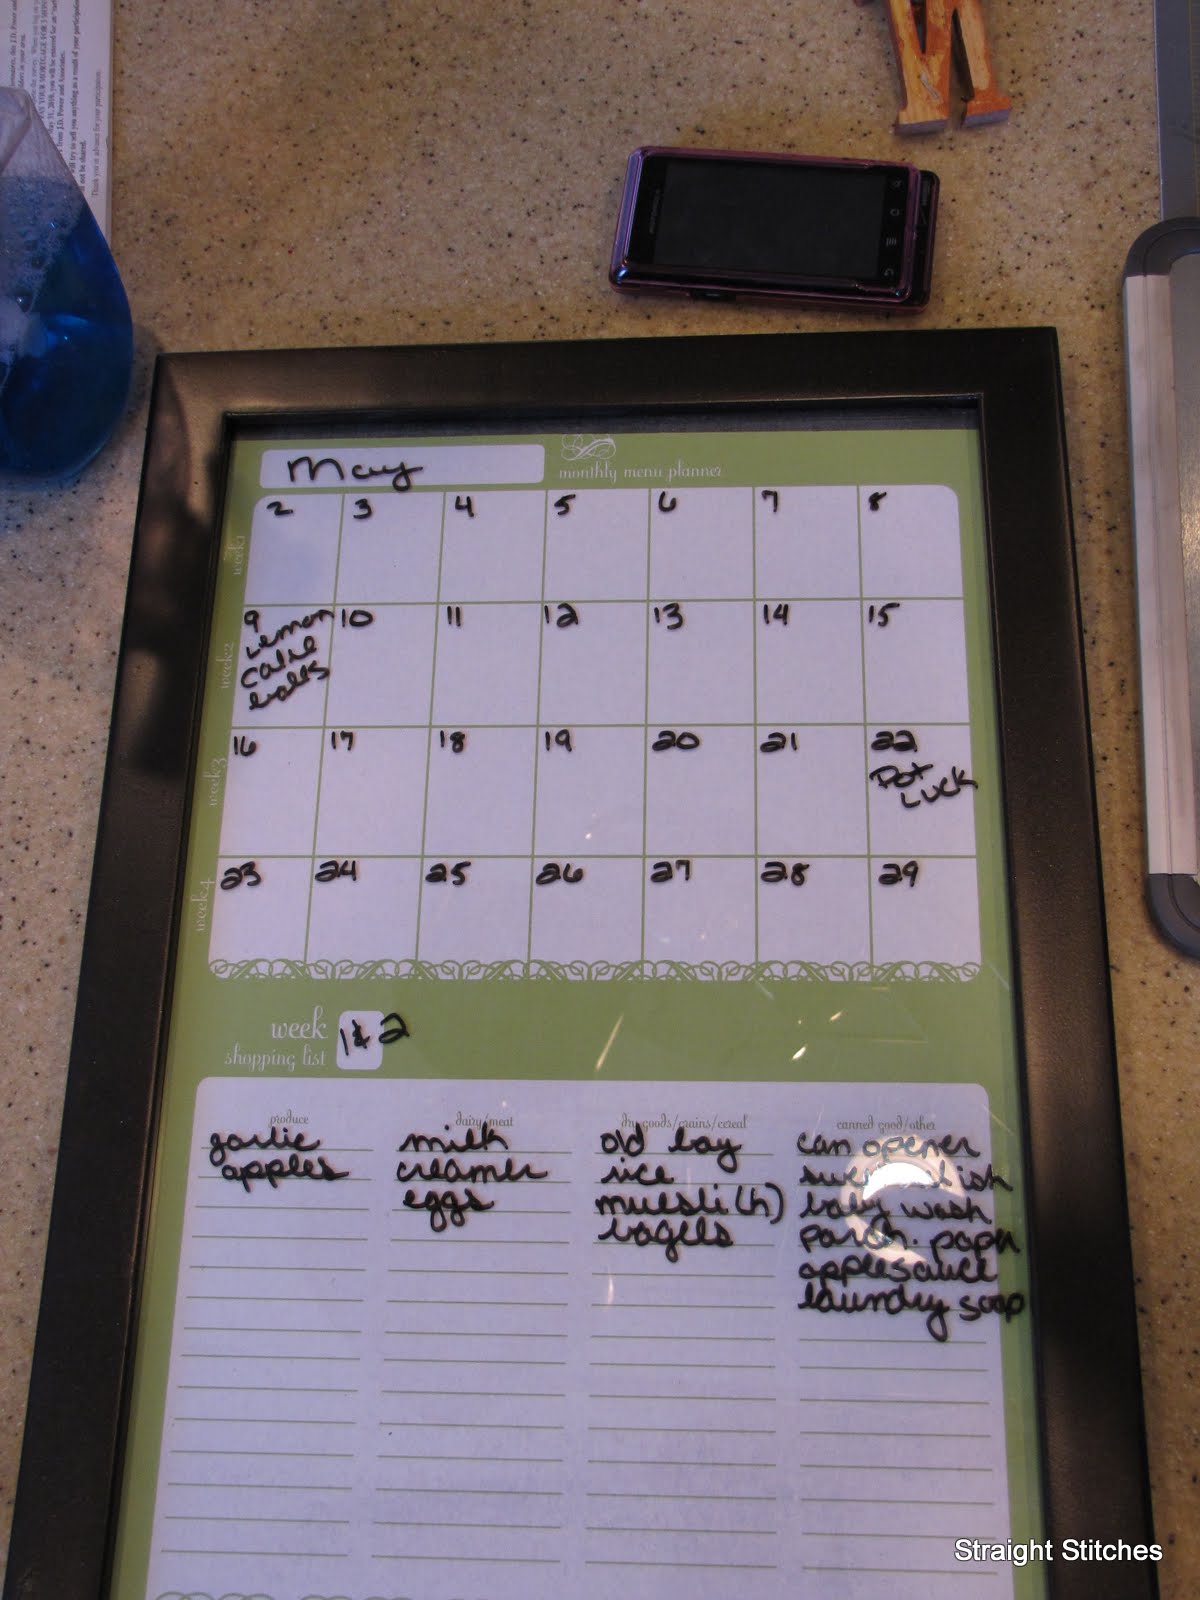
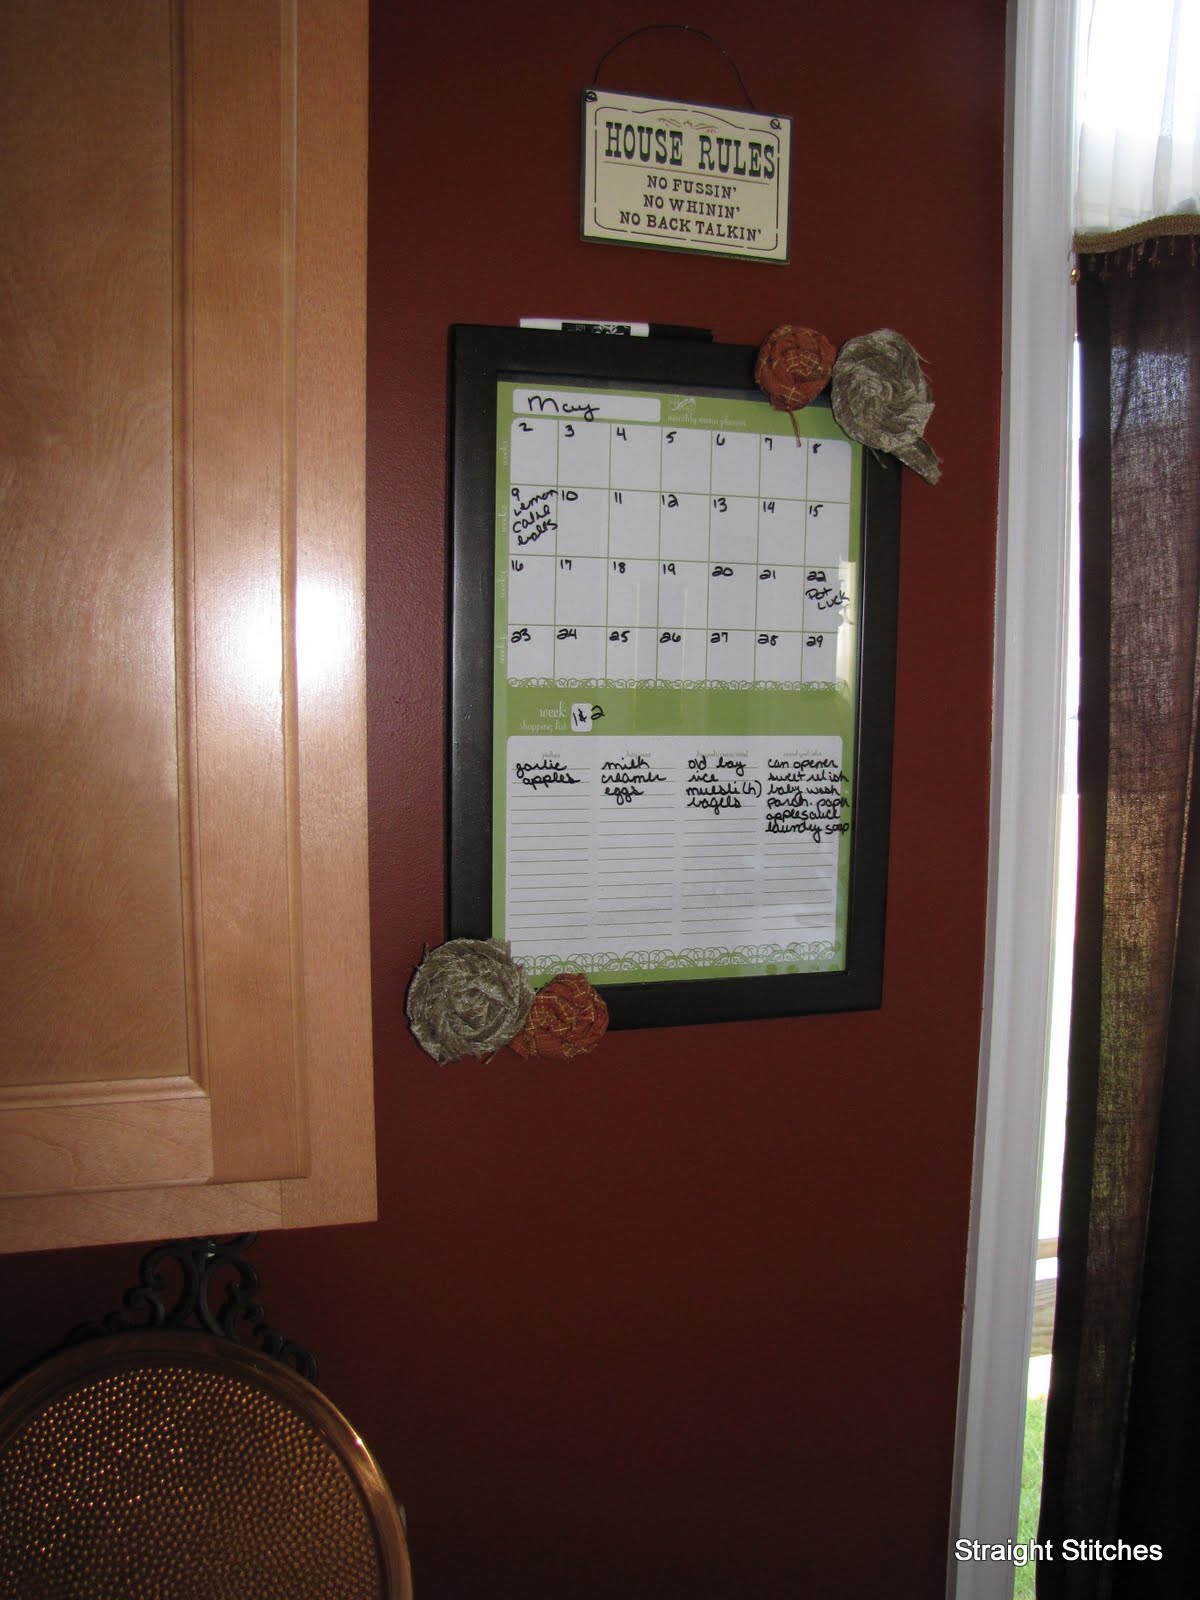
Hmmmm......it's kind of boring. Functional, but boring. I look up to my hidden pile of fabric under the desk, and know exactly what this little gem needs. Some fabric rosettes.
I sort through


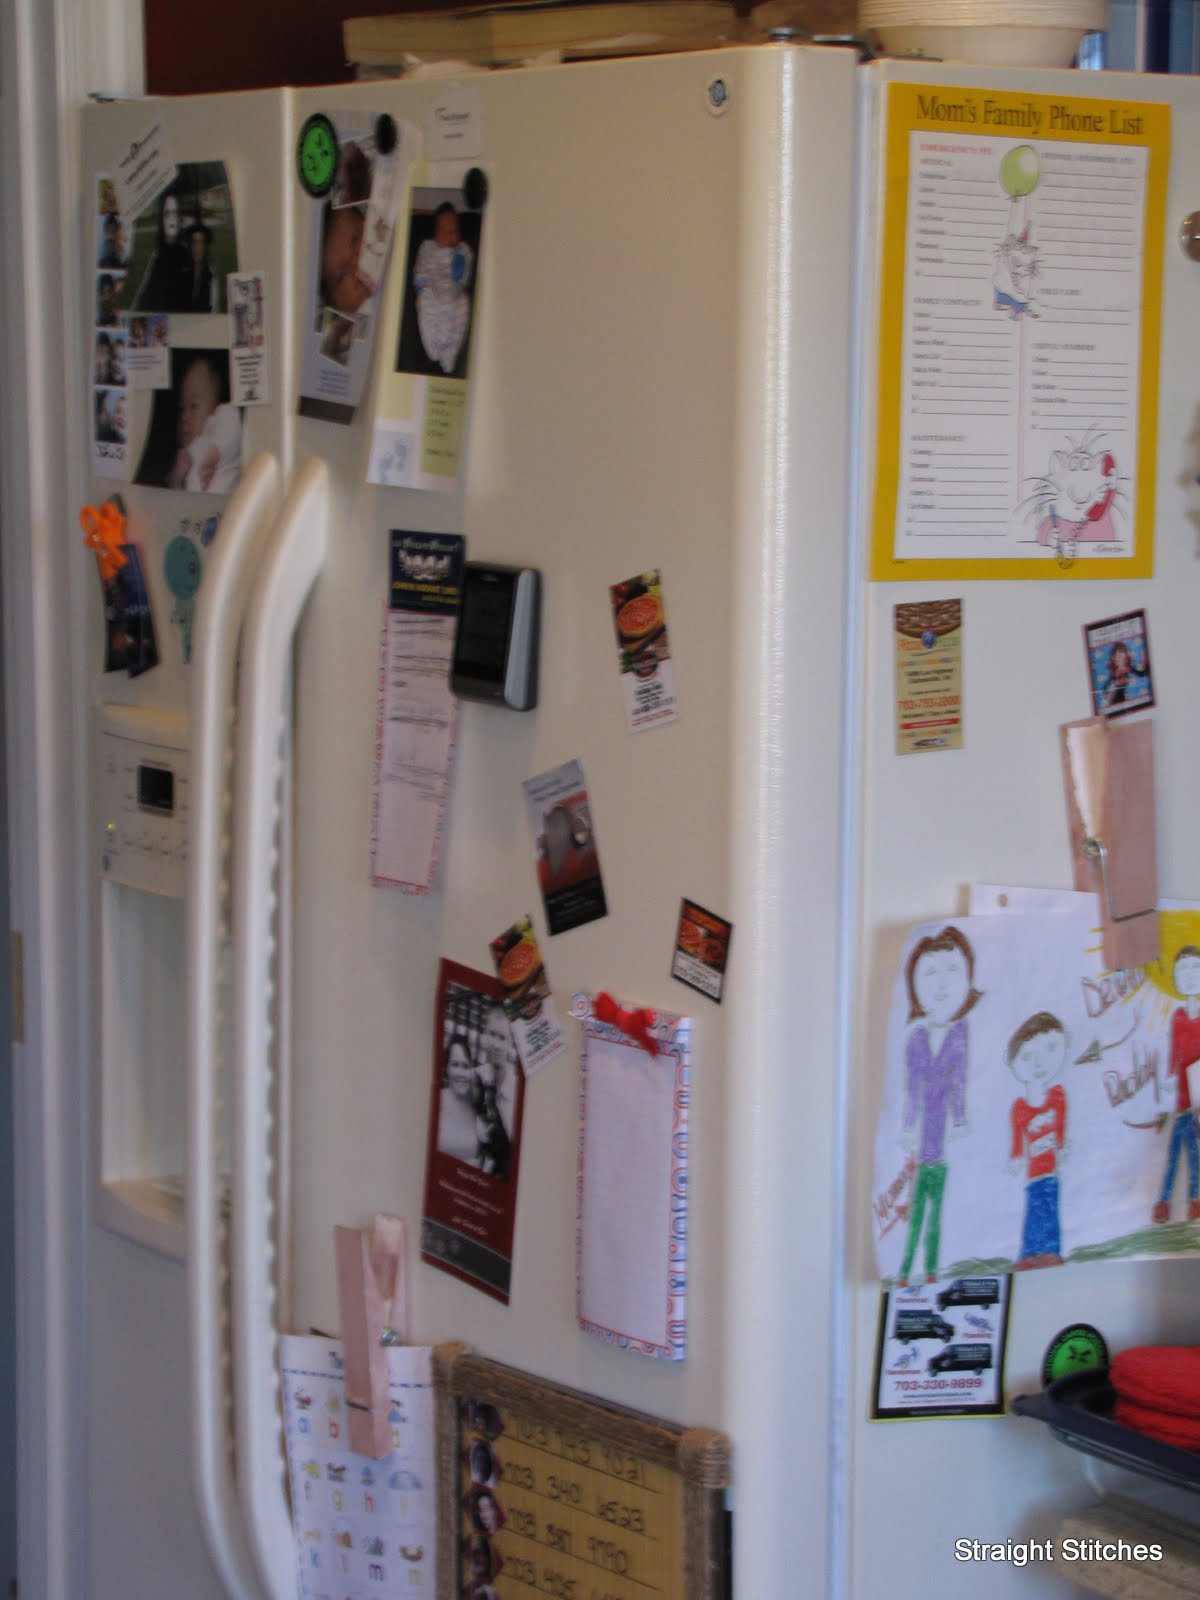
Now she hanging up, ever so pretty, on my wall, and my fridge looks a little less cluttered. :)


I hope you guys will check out my Blog Frog community. I started it this week, and while I'm still learning to navigate it, I hope you guys will join me and discuss what's going on crafty-wise with you!
I also think that when I hit 74 followers I'm going to have a give-away. Why 74? Why not? In reality, my grandmother is turning a certain age and it seemed like a perfectly good reason. :) I know what I want to give away; I'll just have to get the wheels turning on that one to get it done. So tell your bloggy-friends about me and it'll speed up the process!
I hope you enjoyed, and have a great day!


No comments:
Post a Comment