

Dev loves to call people, but I do not like repeating myself umpteen times during the day.....especially when its a 10-digit phone number. So I figured that I could simplify my life and his social need by creating something that we'll both love. Enter the photo phone list.
Here's the stuff you'll need:
Picture frame
Double-sided cardstock or paper
Photos (contact sheet size)
Tape
Permanent Marker
Ruler
Writing Stick (not the marker)
Craft Knife
What you'll do:
Cut your cardstock or paper to fit your picture frame. Decide which side of the paper you want to show the most. I decided that the stripes would be on the outside. Place the opposite side of your paper down inside the frame with the glass behind it. Lightly trace the inside of the frame. This will let you know the 'viewing area' of your frame. You also need to decide if you're going to do this as a landscape or portrait. I did landscape.

Decide how many phone numbers you want to display. Dev likes to call 4 people regularly, but I decided on 6 numbers. I did not do the following step and I should have. I knew I wanted 1" square openings for the pictures, so I measured the short edge of my viewing area. From there I should have found the center, which I didn't. You will, because you have my mistakes to learn from. :-) Mark your center about an inch from the edge of the paper.
Divide your number from the previous step by the number of phone numbers you want to display. I think I had 7-1/2" of viewing area and that divided by 6" (remember I wanted 6 numbers, so that is 6 photos which are all 1" tall) is 1-1/4". So I will have 1/4" of space between each photo. From your center point, measure half the distance of your space measurement. For me that was 1/8" on either side of the center. From those marks draw a 1" square, then put your spacer measurement, then draw another 1" square. Repeat those steps until you have enough squares for phone numbers.
 |
| I should have centered these squares, but you get the idea. |
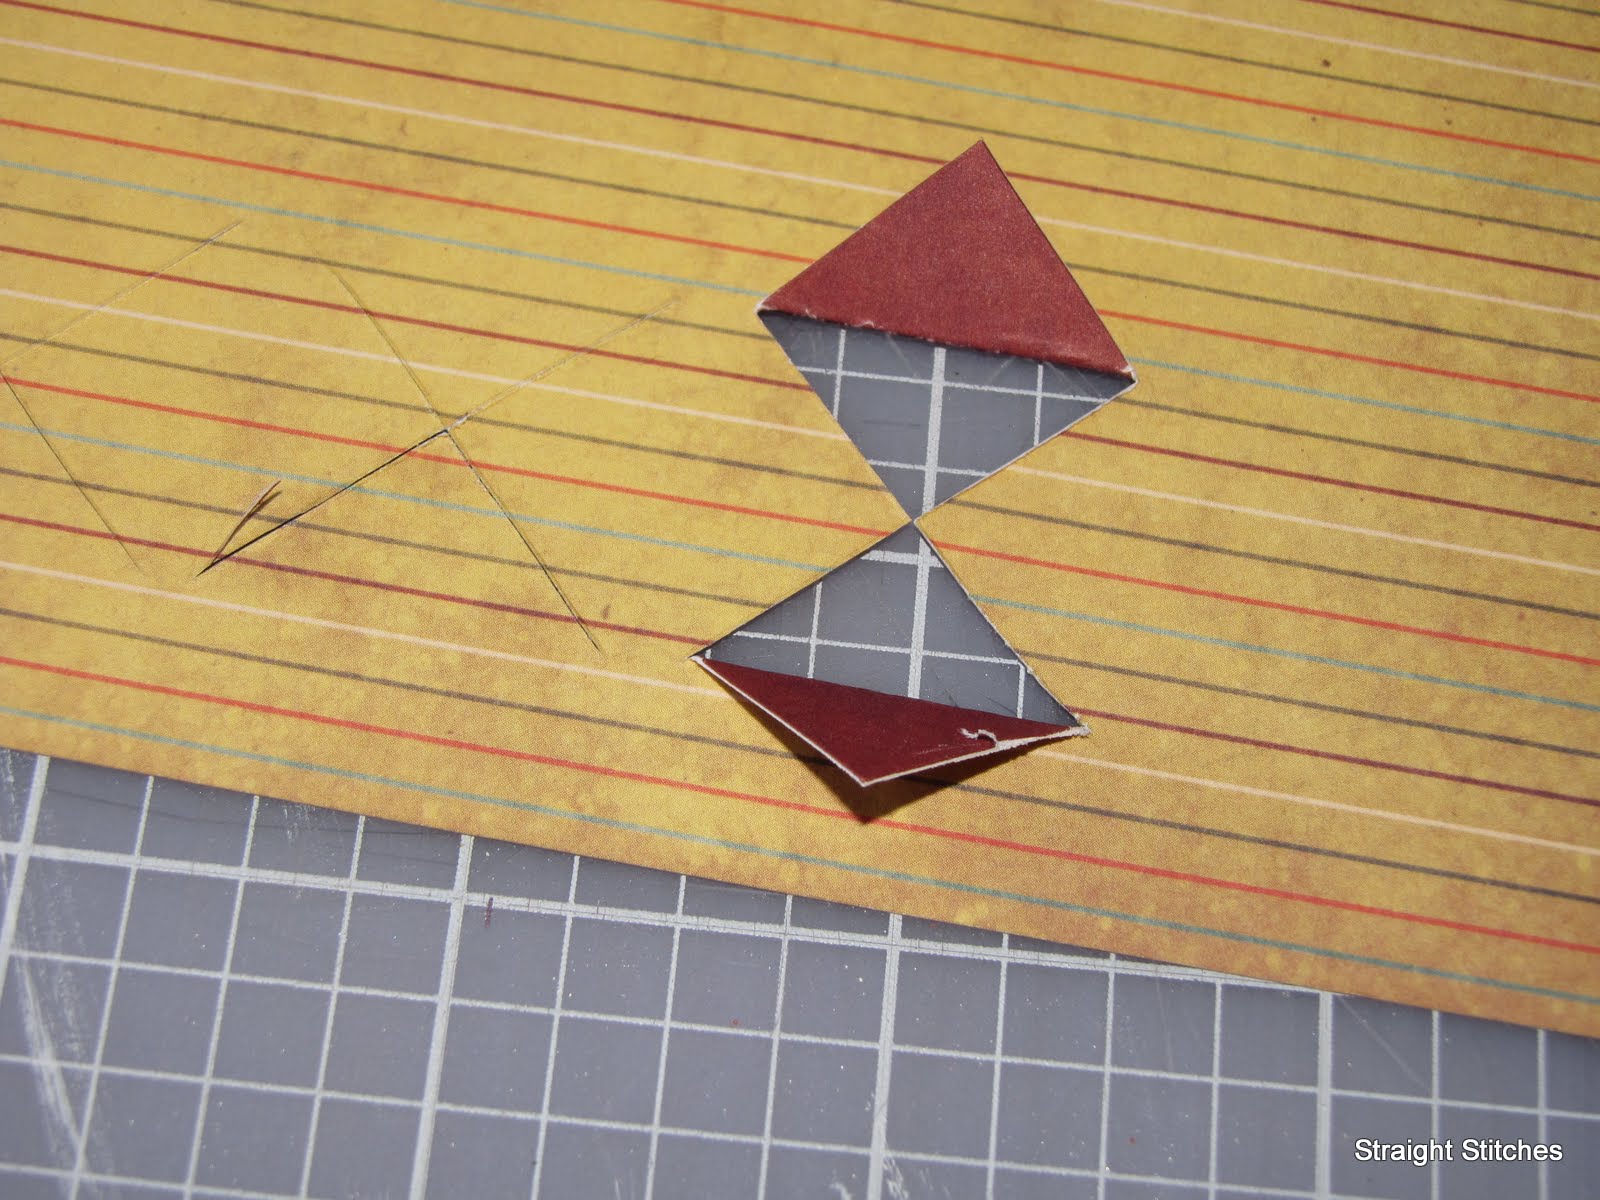
Turn your paper over, and then push your finger up through your X from underneath. Fold each triangle back against the paper, exposing the back color on the front of your page. Glue your triangle down to the front of the page. Trim any triangles that need trimming, especially the ones that overlap other triangles.


Cut out your photos and then position them in your frames. Tape down.

Clean the glass of your picture frame, and then put your pictures in behind the glass. On the outside of the glass, use your ruler and permanent marker to draw lines from the pictures to within an inch of the opposite edge. Flip the glass over, so that the lines you just created are on the backside of your glass and against the paper.

Put your glass and paper inside the frame and then attach the backing. Clean your glass again. Then just write your phone numbers on the outside of the glass with your permanent marker, using the lines you just made as a guide.
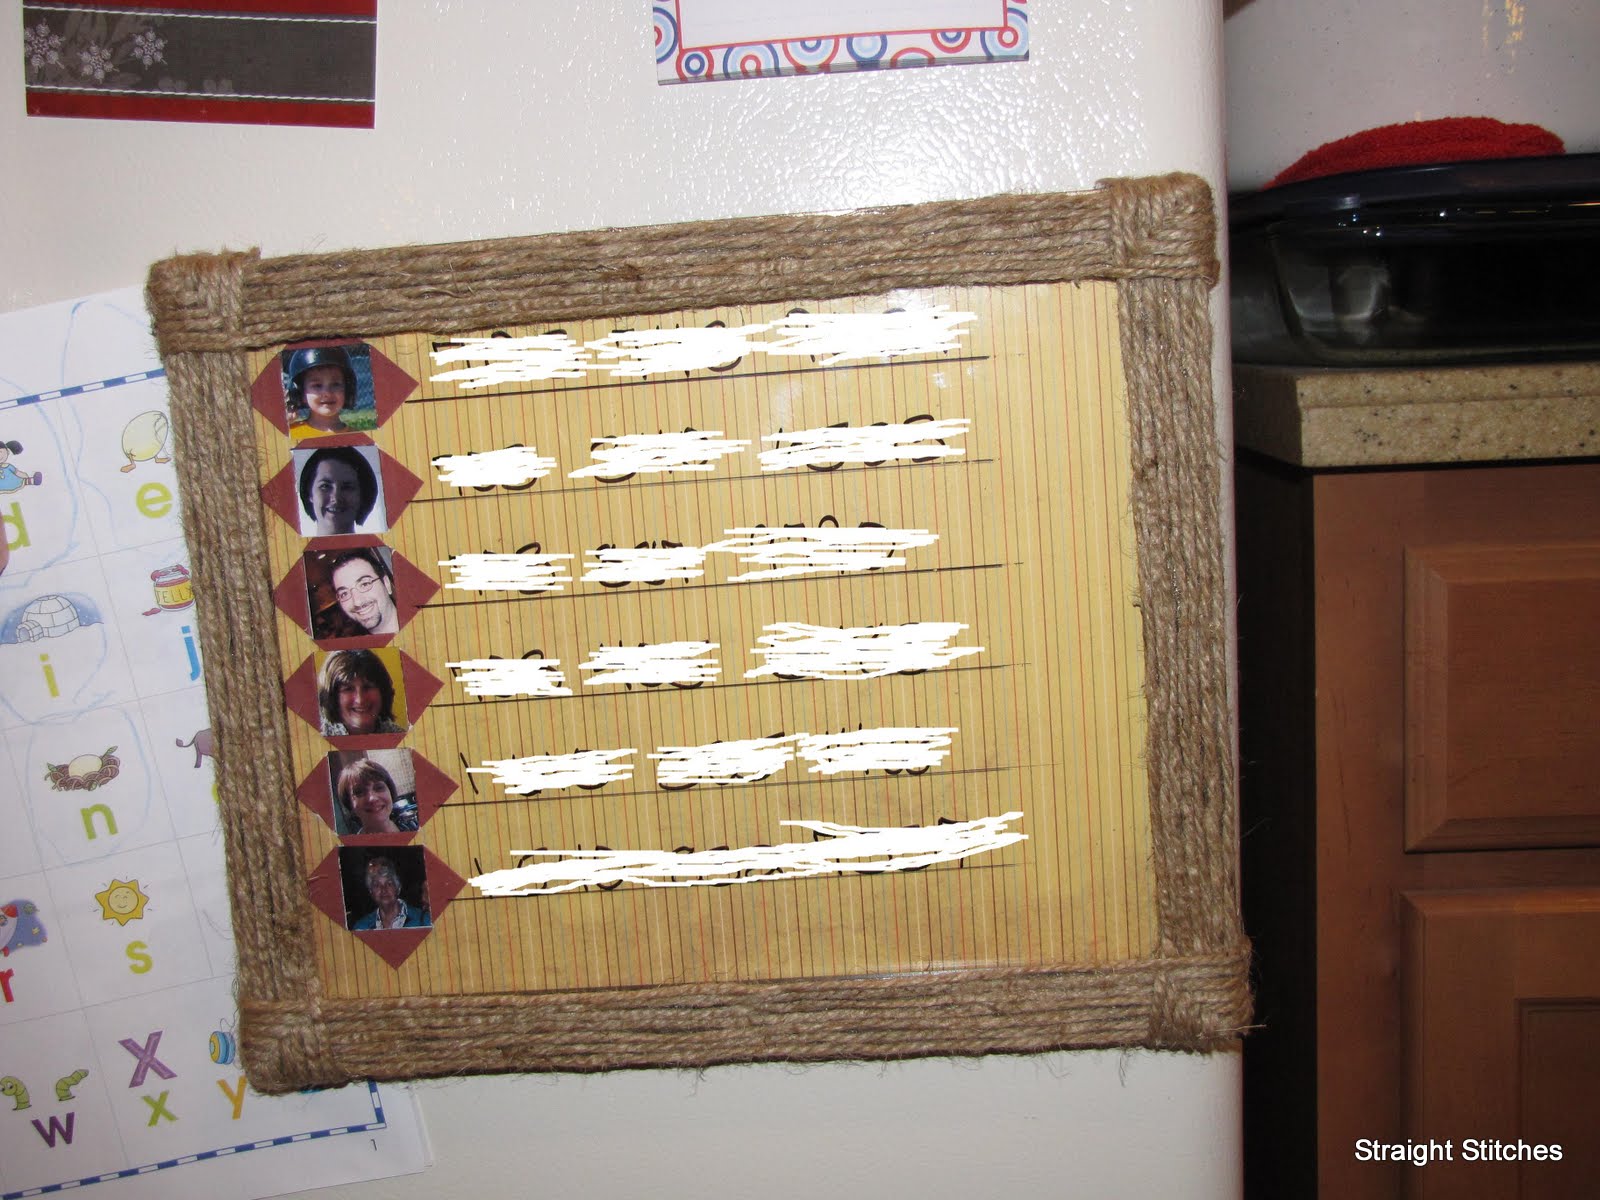 |
| Doesn't that frame look familiar? |
I then added some sticky magnets to the back of my frame. I outlined the entire back of the frame, making sure not to block the backing at all.
I put our home phone number beside his picture. Then each person's cell or home number next to their picture (which ever number is more likely to reach them).
Now whenever Dev wants to call someone. He asks first, then asks where the phone is, then he just goes to the fridge and dials the number of who he wants to call. Its AWE.SOME!
I hope you enjoyed this tutorial, and that your kids will like it as well.
I'm linking up to:


This is such a great idea! My little guy isn't old enough to call out yet, but this will be so handy once he is. Thanks for sharing!
ReplyDelete