Follow Us @SewHalfCrazy

4/08/2011

Who Cares If It's Not Low-Fat?

4/08/2011 0 Comments

You know what drives me crazy? When people feel the need to tell me how unhealthy something is. Even worse, when they feel the need to read off the nutritional information. I know what's good for me (fresh fruits and veggies, vitamins, minerals, antioxidants, etc.) and what's not (fats, salt, etc.). You know what, though? I eat well most of the time, so it's okay if I want to indulge once in a while.

Today's recipe should go next to "indulgence" in the dictionary. Mike and I have started doing half of our dates at home, which works out great because every at-home date night is an opportunity for me to try a new recipe. This was from Claire Robinson's show "Five Ingredient Fix".


Bacon and Blue Cheese Stuffed Chicken Breasts
8 oz (2 sticks) unsalted butter, at room temp
4 oz blue cheese, crumbled (recommended: Maytag or Point Reyes)
4 slices smoked bacon, cooked until crisp and finely chopped
2 tsp chopped fresh chives
4 skin-on, bone-in organic chicken breasts
Pinch freshly ground black pepper

In a large bowl, using a rubber spatula, mix the butter, blue cheese, bacon, and chives together until combined. Dollop half of the compound butter along the long edge of a 12-inch piece of parchment or waxed paper. Roll into a log, twisting opposite ways on both ends of the paper to create a tightly wrapped log of butter. Refrigerate or freeze for another use.

Preheat the oven to 425° F.

Using your fingers, carefully loosen the skin from chicken breasts. Stuff about 1/4 of the remaining blue cheese butter under the skin of each breast; smoothing the skin to evenly distribute the butter over the surface of the breast meat.

Put the chicken on a rimmed baking sheet and rub any remaining butter over the skin. Season each breast with just a pinch of freshly ground black pepper.

Roast the chicken breasts, skin sides up, in the center of the oven until skin is crisped and chicken is cooked through, about 35 to 40 minutes. An instant-read thermometer should register 165° F when inserted into the thickest part of the meat. Remove from the oven to a serving platter. Let stand 10 minutes before serving.
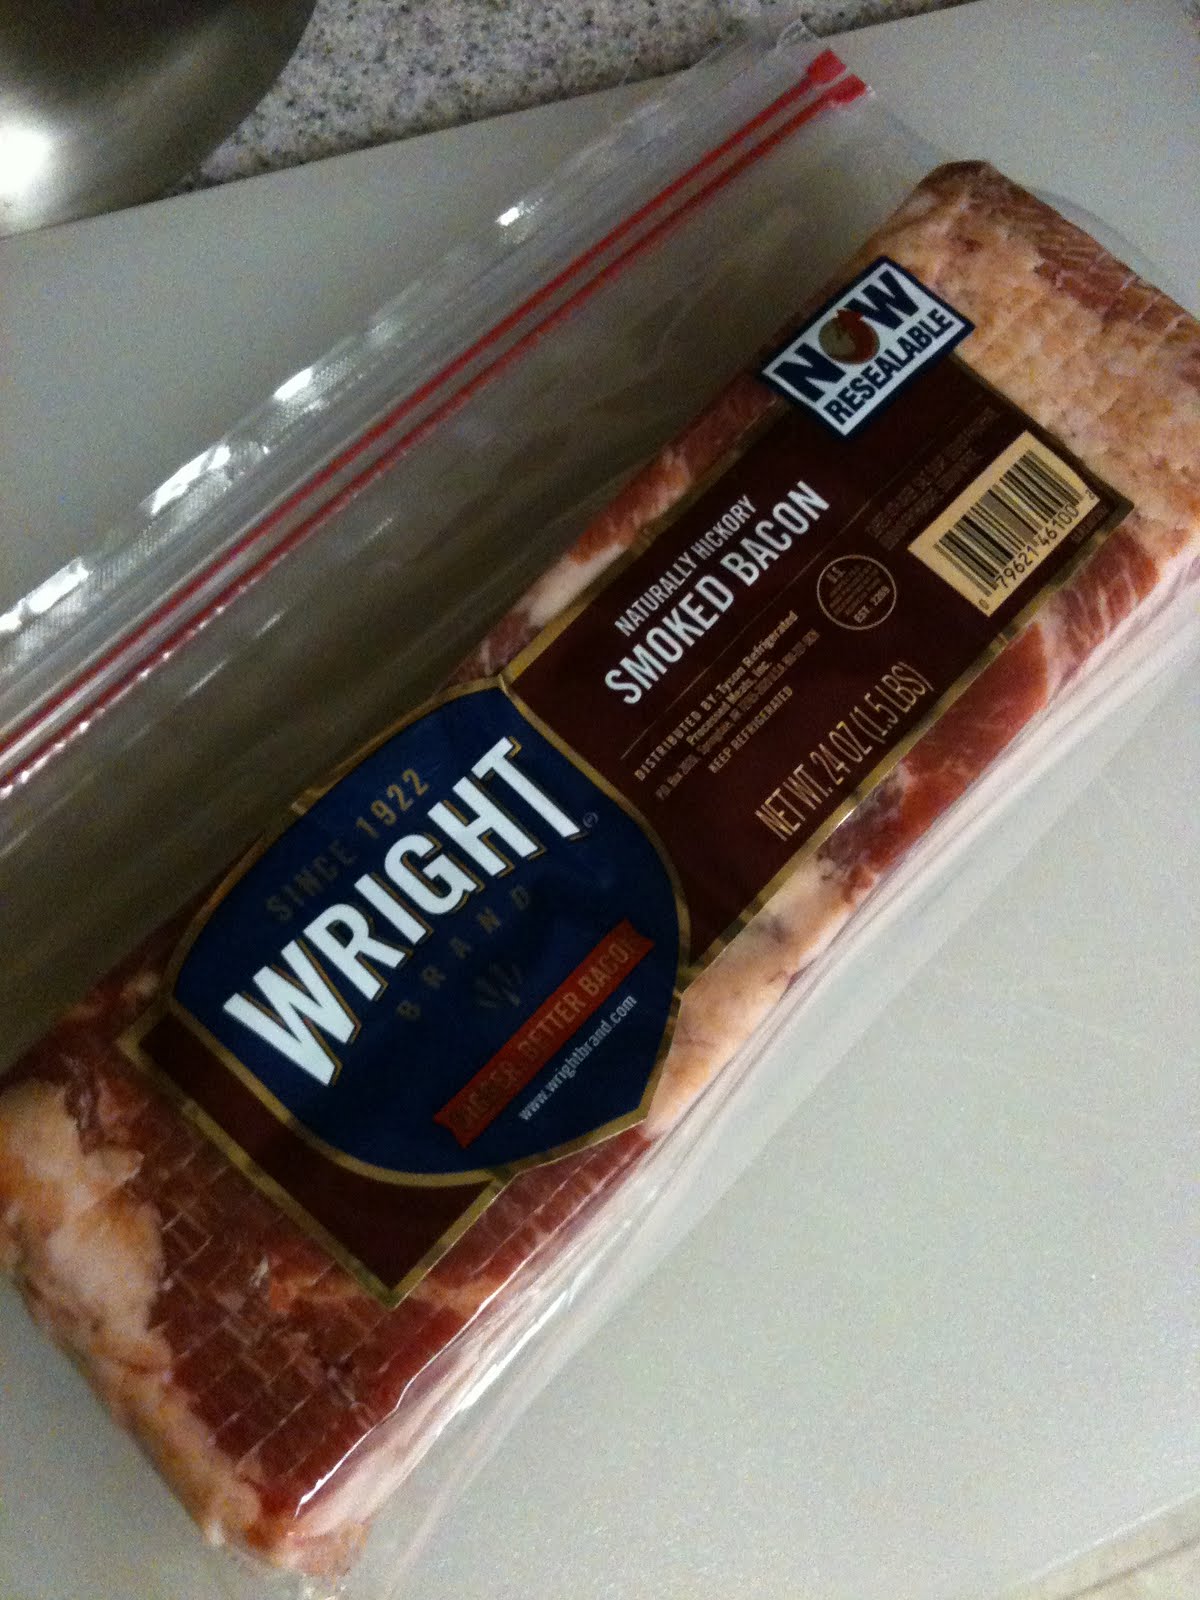
If you follow this blog regularly, you may have noticed I've been cooking with bacon a lot lately. Mike and I recently discovered this great brand of bacon. It's a little pricey, but you buy it in a two pound pack and the bacon is really thick cut. Always remember that, when you don't use a whole lot of ingredients, you need to make sure that what you do use is really high quality.

Here is my compound butter mix. Bacon, blue cheese, and butter. No, it's not healthy, but it's date night and it's delicious!

Let's not forget about the chives. I find cutting these with scissors is far easier than trying to chop them on a board.

Drool...

I love a recipe that gives back. Most of the prep work is taken out of the next time I make this dish...and trust me, there will be a next time.

Tadaa! The star of the show: Chicken! I know the recipe calls for breasts, but I love dark meat, and thighs work just as well. Oh, did you know dark meat has more fat in it? Do I look like I care?

Before you can stuff, you need to get your fingers up under the skin and separate it from the meat. After that you can simply drop the compound butter into the little skin pocket and then press on top of the skin to squelch it around. That's a technical term.

Seriously, how can this not be good?

Trick question. There is no way!

Now, don't get me wrong. I don't like my food swimming in fat. That's where some paper towels come in.

See! Not a completely unhealthy meal. I steamed up some broccolini and had a good, heaping helping of that.

And that, friends, is a lesson in balance. Do I really need to tell you that this is a great date night meal? It's a little fancy and a lot of delicious. P.S. cooking for a date is a really good way to impress them. All of that to say, let us practice moderation in everything, including moderation. Enjoy!

WANTED: A recipe for Cuban Coffee
There's a great little tapas place back home in VA that I go to every time I visit. While the food is fantastic, the biggest reason I like this place is the Cuban Coffee. I think it's called Cordadito or something, but I'm not really sure. It's served in little cups and is really sweet, and I need a recipe. If you know of one, please share!

4/07/2011

CSI anyone?

4/07/2011 0 Comments
So I got rid of my sentimental photos of the boys in lieu of some new art and tchotchkes, but I still wanted something meaningful and unique to the family, so then I thought what's more unique than a thumbprint?

So this is what I came up with!


Ok I know exactly which print belongs to which boy, but I am loving the graphic quality of the art. Even if it didn't turn out exactly right. :)  Let me tell you what I did, but first the only supplies I needed were - stamp pad, plain paper, paint, 2- 8x10 canvases, paintbrush, omni gel transfer medium.

First I stamped each boys' thumbprint on a sheet of plain white paper.

I ended up having to do several prints, and then choose the best of each print.

Then I took a picture of the prints and loaded them up into Photoshop and then removed all the color. I wanted black and white. I used my magic wand to eliminate any grays in the photo. I printed out the thumbprints so that they were 8x10. I wanted the prints to take  up most of the canvas space.

I then took my prints to Staples to photocopy them, because the transfer gel really only works on toner ink, not ink jet. I then took my pretty prints and applied the gel per the instructions. While the coats of gel were drying I then painted my canvases. I used colors in my family room and kind of slopped them on and then blended all of them together with my paintbrush. Think 2 year old method of smearing. :)

I then soaked my prints in water....and gently rubbed off the paper backing. I thought I had done a better job of it than I actually had, but the result has grown on me. :) Glue the transfer down  to the canvas using the gel.

 I am in love with my unique art. :)

What do you guys think? Have a great day guys!
Heather

4/06/2011

$5 Terrarium

4/06/2011 1 Comments
So we know that terrariums are still big decorating items. Pottery Barn uses them all the time in their advertising, and they're all GORGEOUS!
{source}
{source}
{source}

Ok who doesn't want one? Who doesn't want to spend +$50? ME!!!! So in the same trip to the Salvation Army that I found the brass candlesticks for the Armillary, I found a large hurricane vase for $2! Done!

I knew exactly what this hurricane was going to become. My very own terrarium, but first a trip to the Dollar Store. At the dollar store I found some faux moss covered rocks and a potted plant. I picked up two packages of rocks and then one plant (the same plant I might add as the ones I found for my Mother's Day Table last year). So $3 spent so far. $5 for those keeping track. :)

Add a bit of gravel for height and combine all ingredients of wonderfully simple and adorable terrarium. Display on a shelf, out of reach of Small Fry, for impact. :)

Here's my terrarium -


LOVE!!!!

Ok I hope you guys enjoyed my little terrarium. I certainly am! :) Have a great day guys!

Heather

4/05/2011

Armil..... Wait What?

4/05/2011 1 Comments
So while blog hopping a while ago {a long while ago} I saw this post {HERE} from Someday Crafts. Here's  my version. :)


I love that little stance of sophistication that the PB Armillary has.
Sorry for the awful picture, but its no longer available. Still this does not mean I don't want one. :)

So I followed her directions, mostly. :) Unfortunately, I did not take  pictures of my process, but its fairly simple.

I only have one drill hole in my hoops. I choose smaller hoops for my armillary, because my shelves are small. I think they are 4", and cost a 97 cents each. I found a pair of brass candlesticks for $4 at the Salvation Army Store (yep, I broke up a pair for this project). :)

I took each inner hoop and test fit them together. I took it apart and then applied some wood glue to the connecting points. I put the hoops back together and then wiped  off any excess glue with a damp rag. Let the hoops dry for about 1/2 hour just to make sure that if {when} I knock them around during the construction process they'll stay together. I then take my drill and drill a hole into the center of one of the hoops.

I thread the hoops around the bolt on the candlestick and then top it off with a capped nut. Bust out that spray paint and then go to town. I even put my completed piece on the shelf while partially wet. That's dedication {impatience} for you. :)

As you can see I did not add the arrow. I didn't want it. I like the simplicity of my creation. ;)

Here are some pictures of my pretty!


Well I hope you guys check back tomorrow for another project from my new set up :)
Heather

4/04/2011

Updating the TV Space

4/04/2011 2 Comments
A while ago I found these great metal picture frames at Kirkland's for $6 a piece {clearance!} and I was so happy with them, because they were perfect for our family room.  In each of the 4 picture frames I decided to put pictures of  the boys on the day they were born and then the with Steve and I. I loved how personal and sentimental it all was. Jake from Jake and the Neverland Pirates doesn't hurt either. :)

Then I got tired of it. I could do better. The TV space could be better. So I took it down, and then didn't like all of the orange space. :)  So then I decided that I need a little bit of new to my family room that is going cottage style.

Enter thumbprints and floating shelves. :)

Oh and a terrarium, other tchotchkes and a paint swatch. :)
Yea you're going to see that paint swatch again. In the near future I hope. :) Its got a date with a piece in my garage right now.

I'm going to be sharing various projects from this transformation including the thumb print art. :)

Have a terrific day guys!
Heather

4/01/2011

Because Who Doesn't Like Bacon and Eggs?

4/01/2011 1 Comments

Really? Do you know anyone who doesn't like bacon and eggs? I mean, anyone who doesn't like bacon just isn't human, and eggs come in so many different forms--omelet, fried, scrambled, poached, etc.--there's something for everyone. There was one Saturday not too long ago that I was really into eggs and bacon. I had it for breakfast and dinner. Prepare yourself; it's about to get delicious.


Breakfast Quesadillas
3 eggs
2 flour tortillas (8 inches)
1/2 cup shredded fontina cheese
2 bacon strips, cooked and crumbled
1 green onion, thinly sliced
Sour cream and salsa, optional

In a small bowl, whisk the eggs. Coat a large skillet with cooking spray. Add eggs; cook and stir over medium heat until completely set.

Place tortillas on a griddle. Spoon eggs over half of each tortilla; sprinkle with cheese, bacon and onion. Fold over and cook over low heat for 1-2 minutes on each side or until cheese is melted. Serve with sour cream and salsa. Yield: 2 servings.

+ = Awesome!
 I pulled this recipe from Taste of Home and made this up before a clothing swap one morning.

Note: Ladies, you can save yourself SO much money by coordinating one of these little get-togethers. A lot of the girls in my department are about the same size, and most all of them have small children of varying ages. Everybody brings the stuff that they don't want anymore or doesn't fit their kids anymore and you just pick out what you want, try it on, and then take home "new" clothes for free. Anything that isn't taken at the end gets taken to Goodwill. Win-win-win.

Here's the assembly line. Then I just cooked everything up and fought (and mostly won) to resist eating it before the swap. I also cut the quesadillas into small pieces to try and stretch them. After all, everyone was bringing something, so one person didn't need a big slice. Too bad it didn't seem to make a difference. Those babies were gone in minutes. Guys think you're so good at eating. Try getting a dozen women into a room together and see how long any food lasts. We've got them beat six ways till Sunday. :-) Needless to say, the quesadillas were well enjoyed.

Then came dinner for Mike and I. I have been trying a lot more homemade pasta sauce recipes, so I found a recipe by Rachael Ray that was just too good to pass up.

Bacon and Egg Coal Miner's Pasta: Rigatoni alla Carbonara
Salt
1 lb rigatoni
1/3 lb pancetta, cured Italian meat, available at deli counter, chopped
Drizzle extra-virgin olive oil, plus 2 Tbsp (2 turns around the pan)
4 or 5 cloves garlic, finely chopped
1/4 tsp crushed red pepper flakes, a few pinches, crushed in palm of hand
1/2 cup dry white wine or chicken stock
2 lg egg yolks
3 Tbsp (ab 2 palmfuls) grated Parmigiano Reggiano, plus more, for sprinkling
A handful fresh parsley leaves, finely chopped
A few grinds black pepper

Place a large pot of water on the stove to boil. When water is rolling, add salt and pasta and cook to al dente, about 8 minutes, reserving 1/4 cup pasta water.

While pasta cooks, heat large skillet over moderate heat. Sauté pancetta in a drizzle of oil until it browns, 3 to 5 minutes. Add extra-virgin olive oil, garlic, and crushed pepper flake. Sauté garlic 2 minutes. Add wine or stock to the pan and reduce liquid by half, 2 minutes.

Beat together egg yolks, cheese, and while whisking vigorously, stir in a ladle of the boiling pasta water. Beat in parsley and pepper and set aside.

Drain pasta. Add pasta to pan with sauce. Toss pasta with pancetta, then add egg mixture and toss 1 minute, then remove from heat. Continue to toss until sauce is absorbed by and thickly coating the pasta. Adjust seasonings with salt and pepper and serve with extra cheese, for passing.

This is such a beautiful sight. I never get tired of seeing yummy, thick-cut bacon frying up in a pan. And the smell! Oh, don't even get me started. Anything with this deliciousness in it is going to be awesome.

That is a lot of pasta, but pasta's cheap, especially when it's buy-one-get-one-free at the store. Plus, you can get whole grain or vegetable pastas to take the nutrition factor up a notch or three.

And that is one bowl of amazingness. I have discovered the ease of making pasta sauces at home and love it! Mike's been waxing poetic about some of them too, which only encourages me too. This is such a cheap, easy, yummy meal, and I think it could double for breakfast too. After all, eggs and bacon seem like anytime-food to me.

Have you seen Dana?

4/01/2011 0 Comments
I was expecting to see a Friday Food Frenzy post today. I was looking forward to my weekly recipe fix, but there's not one here.

Have any of you seen my sister? She seems to have disappeared.

I have posts I could share, but I don't want to yet. :) They're for next week.

So instead I'll share things that have been going on around here.

Dev has three loose teeth! These are his first, so I'm really excited about making a tooth fairy box for him. :)

I haven't been to the dentist in 6 years...I know, I know. I'm already castigating myself over it. I have cavities...a lot of them, and I need to loose a few teeth, but I also found out that I inherited my mother's gum disease. Yay for that. Dana has it too (I'm sure she'll love me sharing that, but she's not here today, is she?). Luckily its not too bad yet, so after some smile fixing, I get to tackle that hurdle. You guys wanted to know all of this didn't you? :)

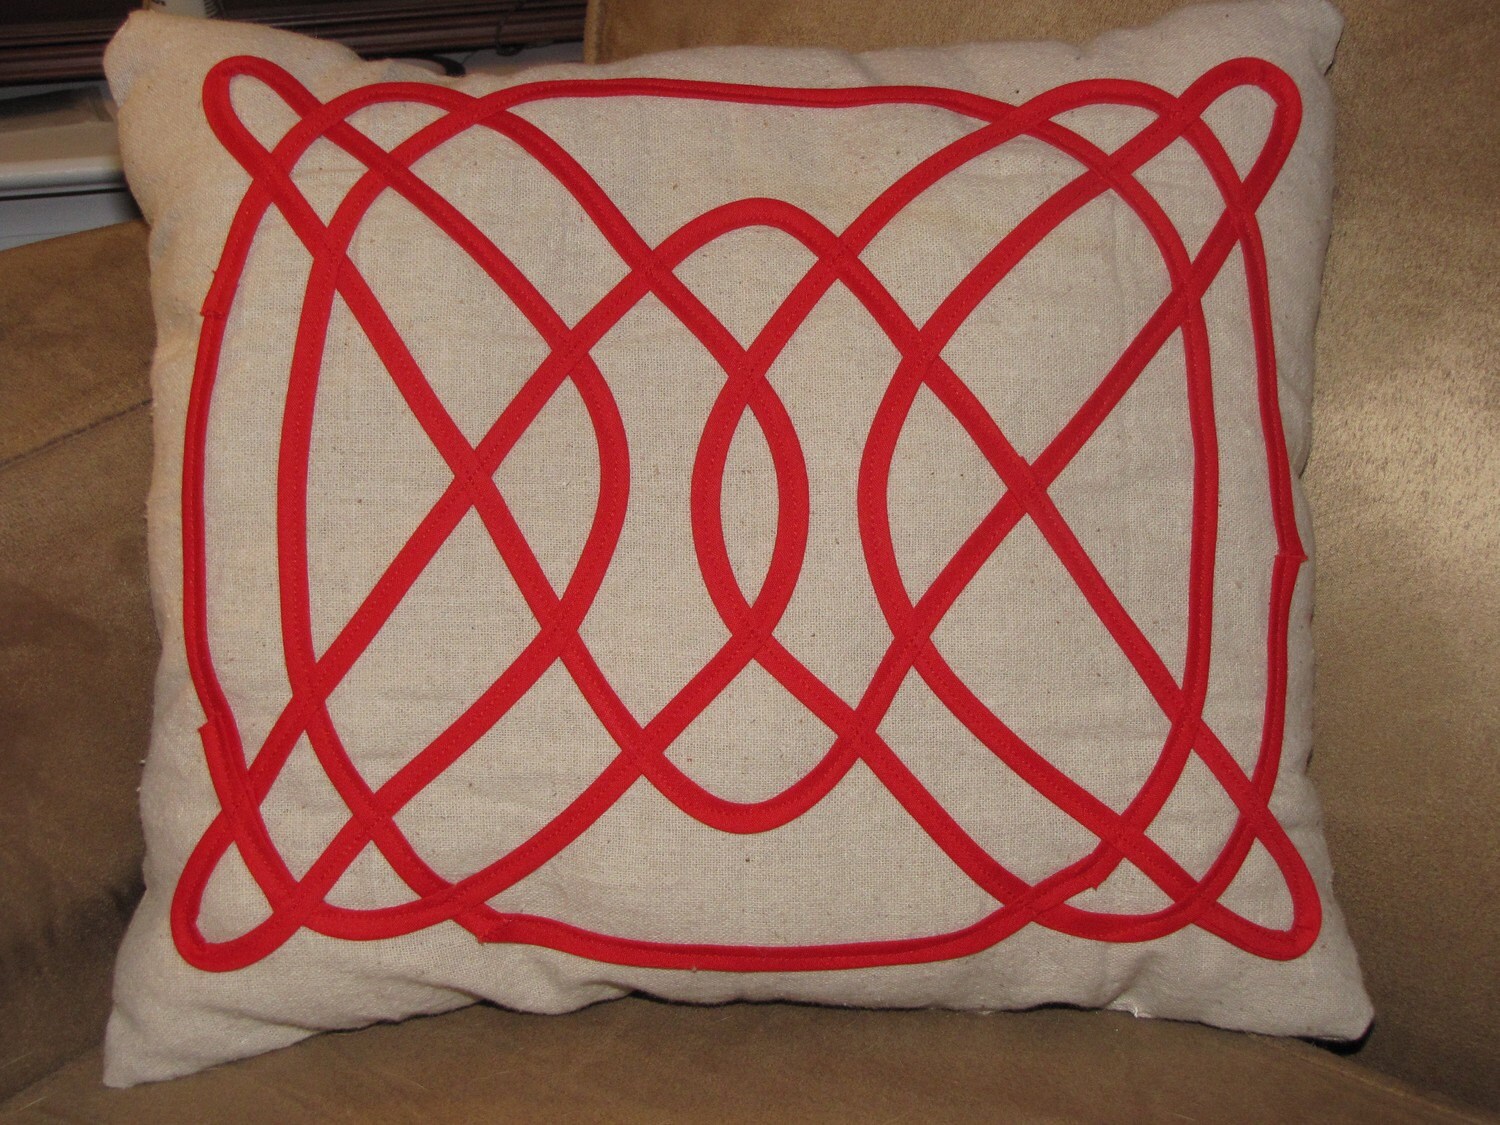
Let's see - what else has been going on? Oh yea, I added a couple of new pillows to the shop.
See the rest of the pictures {HERE}
I have two of these little beauts. I have more planned, but I'm waiting on some of the set to dry, and then I'll get them added this weekend.

Oh I wanted to make banana bread this AM, but I had no sour cream and the butter wasn't softened. Sadness. I guess I'll have to make the bread later. :(

Ok guys - well hopefully Dana shows up, but if not I may have to come up with another post. :)

BTW - HAPPY APRIL FOOL'S DAY!
Heather