Follow Us @SewHalfCrazy

6/10/2011

Fit For a King!

6/10/2011 1 Comments


I don't need to make you all groan about my ooey-gooey sweet-enough-to-give-you-instant-cavities feelings, so let me just say that the title of this post refers to my sweet, wonderful husband, Mike. :-) My prince. This past Friday was our five-year anniversary. When deciding on his gift, I simply said, I'll do what I do best. Here's the menu...

Beef Wellington
1 beef tenderloin (2 to 2 1/2 pounds)
Ground black pepper (optional)
1/2 of a 17.3 oz pkg Pepperidge Farm® Puff Pastry Sheets (1 sheet), thawed
1 egg
1 Tbsp water
1 Tbsp butter
2 cup finely chopped mushrooms
1 med onion, finely chopped (ab 1/2 cup)

Heat the oven to 425° F. Place the beef into a lightly greased roasting pan. Season with the black pepper, if desired. Roast for 30 minutes or until a meat thermometer reads 130° F. Cover the pan and refrigerate for 1 hour.

Heat the oven to 425° F. Beat the egg and water in a small bowl with a fork or whisk.

Heat the butter in a 10-inch skillet over medium-high heat. Add the mushrooms and onion and cook until the mushrooms are tender and all the liquid is evaporated, stirring often.

Unfold the pastry sheet on a lightly floured surface. Roll the pastry sheet into a rectangle 4 inches longer and 6 inches wider than the beef. Brush the pastry sheet with the egg mixture. Spoon the mushroom mixture onto the pastry sheet to within 1-inch of the edges. Place the beef in the center of the mushroom mixture. Fold the pastry over the beef and press to seal. Place seam-side down onto a baking sheet. Tuck the ends under to seal. Brush the pastry with the egg mixture.

Bake for 25 minutes or until the pastry is golden brown and a meat thermometer reads 140° F.


Thyme For Yorkshire Pudding
1 tsp kosher salt
1 cup all-purpose flour
1 1/4 cup milk
3 eggs, beaten
2 Tbsp chopped fresh thyme leaves
1/4 cup reserved pan fat from Sunday Roast Beef*

*Cook's note: olive oil can replace cooking fat if none is available

Sift the salt and the flour into a large bowl. Add half the milk and all the eggs into the flour mixture and whisk until smooth. Whisk in remaining milk, and then the thyme. Cover; let batter sit at room temperature, for at least 30 minutes, ideally 45 minutes.

Heat oven to 450° F. Divide the rendered beef fat or oil, 1/4 cup total, between a 12-cup nonstick muffin tin or 12-hole Yorkshire pudding tray. Heat in oven until the fat is almost smoking hot. Place a baking sheet on the bottom rack of the oven to catch any fat drippings - this will help prevent any oven fires!

Uncover batter and whisk one more time. Pour batter into each cup, about 3/4 full and immediately place back into the oven. The batter will sizzle when being poured into the hot fat. Bake in the oven for approximately 20 minutes or until risen and golden brown in color. Turn oven off and leave puddings in the oven for just 5 more minutes to help set. Remove puddings and serve while hot and puffed.


Chocolate Molten Cakes
1/2 lb (2 sticks) unsalted butter, plus more for greasing
1/2 lb bittersweet chocolate, at least 60 percent, plus 8 (1-inch) squares
1/2 cup granulated sugar
3 lg eggs
3 Tbsp all-purpose flour

Preheat the oven to 350° F. Butter 4 (6-ounce) ramekins and set aside.

Over a double boiler, melt the butter and chocolate, whisking until smooth. Whisk in the sugar and transfer to a medium bowl. Whisk in the eggs and flour until smooth. Pour the batter into the prepared ramekins about 2/3 full. Place 1 of the small chocolate squares right in the middle of each cake and press down with your fingers so it rests in the middle of the ramekin. Bake the cakes until slightly puffy and set around the edges, 20 to 25 minutes. Don't worry if your cake tester comes out wet, the center should still be loose.

BYOC: Use a nice sea salt to garnish, or try toasted coconut flakes, toasted and chopped nuts, fresh berries in the summer or freshly whipped cream.

I don't really have any individual dish pictures for a while here. From the moment I got home from work, there was a flurry of activity in my kitchen. If I wasn't chopping mushrooms, I was stripping thyme sprigs (a very tedious task, I assure you). If not that, I was mixing pudding batter and so on and so forth. You get the idea. These two pictures show the spread of activity in my kitchen.

I was really very proud of my dish choices and timing. Both the wellingtons and the puddings were ready to go into the oven together at the same time. I have to confess I was a little nervous about using the oven for both at once, which made me wish for double ovens a little bit, but it all worked out great! Also, because I didn't make the roast beef mentioned in the Yorkshire Pudding recipe, I used some bacon grease I had reserved in the fridge. In case you don't know, you can save this great byproduct in your fridge and it'll last for about forever. I keep mine in a little leftover container and use it when making eggs, roasting potatoes, or whatever needs a little fat and flavor.

Ooooooooooooh!!! Seeing these two sights when I opened my oven was just incredible. I don't know if this phenomenon happens to you, but I get joyful when I cook. I use that word on purpose. I mean, I get downright giddy. After pulling these babies out, I was quite literally dancing through my kitchen. How could I not. It's perfect!

While dinner was cooking, I started in earnest on dessert. I have to say that this was the first time I've ever worked with such high-quality, solid chocolate. It was fun!
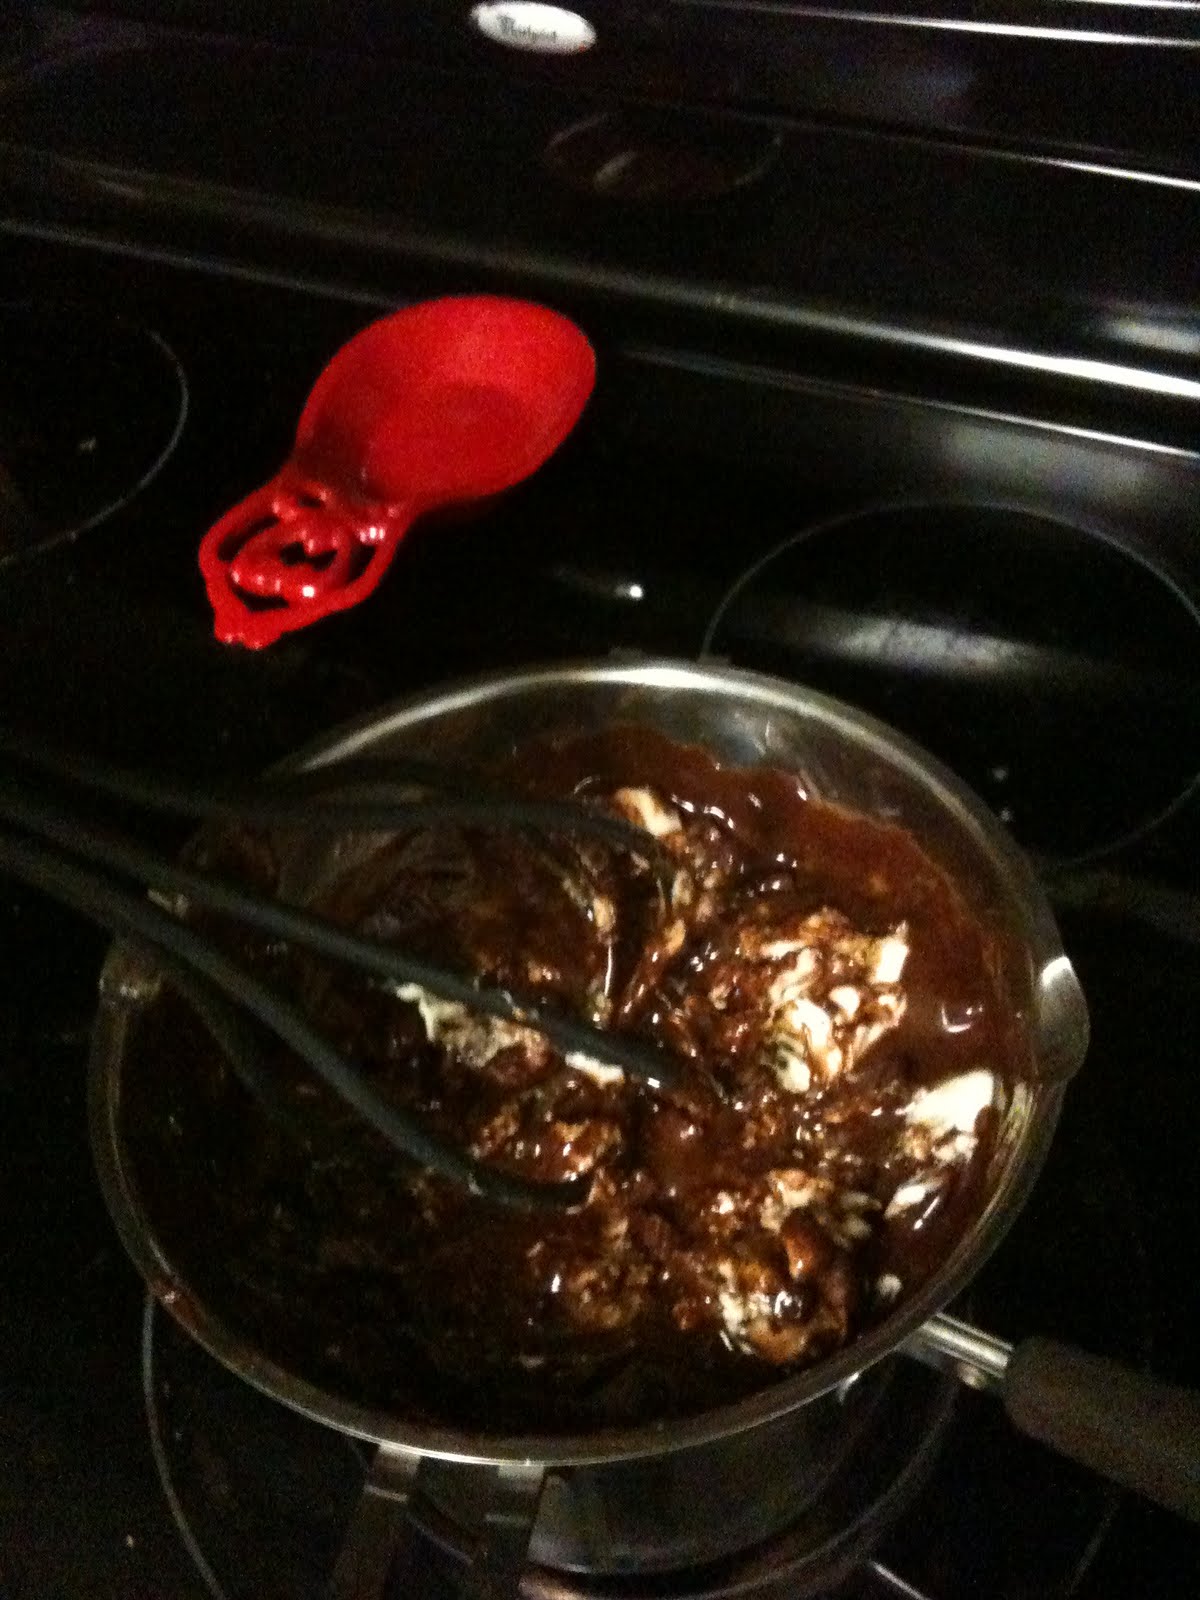
Here you can see the butter and chocolate in various stages of melting in my double boiler (thanks, Ikea!). The last one is the chocolate with the sugar in it. Hey, what does two sticks of butter and half a pound dark chocolate look like? Pure beauty. It gets so smooth and shiny (much like patent leather actually). Gorgeous, gorgeous, gorgeous!

Here's a cool side effect I wasn't expecting. When I pushed the chocolate pieces down into the batter (careful, it's hot), it made some really neat looking little X's. They looked kind of like stars. :-) By the way, I don't have 6oz ramekins. I have 7oz and 4oz ones. That was some fun math...

Wait. Weren't there six cakes? Yeah, I didn't remember to take a picture until after we had started to dig in.

Dude. Talk about fancying it up. I lit a candle, dimmed the lights, and pulled out a bottle of Golden Rose. Holla back, Beachaven Winery! I also mixed up (from a bag) some Caesar salad. When I do a nice dinner, I do it right.

Don't act like you're not impressed. :-) I was pretty dang proud of myself for planning, making, and presenting this meal. Mike was really, really pleased and said more nice things than I can remember. The only note I can put on this meal is that the molten cakes are really rich. They really do belong in tiny ramekins. You could probably add a little sugar to take the edge off of that richness if it's too much.

Bonus: You may be wondering what Mike did for me for our anniversary. He had his own surprise planned. I got home from work on Friday and was told to pack an overnight bag. Mike then drove me downtown to the historical Hermitage Hotel, where he had rented a sweetheart night package. An "overbooking error" bumped us up from a Junior Suite to the Presidential Suite, where we enjoyed a fabulous overnight stay-cation. Seriously. Best. Anniversary. Ever! And many more... :-)



6/09/2011

Getting ready...

6/09/2011 0 Comments
I was going to show you the new dress that I'm wearing down to Dana's this weekend, but its not done.

I still have to put in the hem. Not a big deal, but after that's done I'm making myself a belt to go with the dress.

So suffice to say. I'm no where near ready for my trip.

Mom and I are going. I'm super excited. I'm also a little sad, because my guys will miss me, but I'll miss them too.

Still excited though! We're tiling Dana's backsplash on Sasturday. Then Sunday morning grouting it, and then that evening we're having a Tastefully Simple Taste-testing party. Yay!

I have no pictures to share, just excuses today.

Please forgive me :)

See you guys soon!
Heather

6/08/2011

Tracking Behavior and Chores

6/08/2011 1 Comments
For some time now, my girlfriends and I have been commiserating about our kids' behavior.

We didn't get it. Why were normally well behaved children turning into demon spawn?

Well, I introduced more chores for Dev, and that seemed to work, but only partially.

A girlfriend introduced a behavior chart and her son has been improving a lot. So I decided that I would also incorporate a behavior chart, but I also wanted a way for Dev to track his chores and what he'd done that day and so on.

So the scrapbook folder and Photoshop was busted out.

I've been digital scrapbooking for almost 5 years now, and I have amassed quite a collection.

So I went through and picked out a kit that had the colors and elements that I wanted. I ended up using Elementary Grammar from Peppermint Creative. I love their kits. :)

So after playing around for a couple evenings, this is what I came up with.

The paper size is 11 x 17, which is oh so helpful, because I have an 11 x 17 frame that I'm no longer using. Funny how that works. :)

Here's the chart in action.

The bottom portion is on the wall so that Dev can reach it, but not Harrison. Stephen or I will fill out the top - based on his behavior.


So far Dev is stoked about his chart. He loves marking stuff off on it. He's also easily influenced by getting all smiley faces. :)
If he goes a week with doing most of his chores {without being told} and having mostly smiley faces, then he's going to get rewarded. He's already told us he wants money so he can put it in his savings account. :) Such a good kid. :)

Have a great day guys!
Heather

6/07/2011

The Simplest Alteration Ever...

6/07/2011 1 Comments
So today I'm going to share how I altered my tab top curtains to back tab curtains. You can see the finished product hanging here.


This may be the simplest curtain alteration - ever.

Seriously. Someone with no sewing experience could do this.

So lets get started.

Obv you need to have a tab top curtain.

I ironed my curtain so that everything would be nice, crisp and flat.

What we're going to do is fold the tabbed portions back underneath the curtain header and then stitch them down. Now where you stitch is up to you and the width of your curtain rod. My curtains rods are teeny so I was able to stitch in the ditch of the existing header so you can't even see my new stitches.

Here's me folding the first tab to the backside of the curtain.

You can't really see it, but I am stitching in the ditch (stitching over existing stitching).

Here's a slightly clearer view of the stitching line I'm following. It's faint but it's there. Also I did not fold under the tabs until I was almost on them. I made sure to keep my needle in the down position while doing this as well.

Just a couple more shots of me stitching these tabs down.

You want to make sure and try to get the tabs to fold as flat as possible and have the tops line up as much as possible so that your new header on the curtain doesn't look flunky.

So here's the curtains hanging. You can see the shadow of the tabs a little bit, but when you move away from the window you can't tell at all. It doesn't help that the white cotton shows everything as well.

Here's the view of the back of the curtain - looking up at the curtain rod. The rod slides nicely along the new back tabs, but it doesn't  hang limply. I also did not cut those tabs in case I wanted to undo this alteration in the future. I probably never will, but you never know.

Now for the fine print. When you buy an 84" curtain and you convert it from tab top to back tab you will lose about 3 inches. I avoided this, because the curtains I bought from Ikea were unfinished at the bottom, so I measured down 84" from the header I was going to be creating. Just an FYI. :)

One more of the finished product. :)

Hope you guys enjoyed this super simple tutorial!

Have a great day,
Heather

6/06/2011

Summer-fying the Master Bedroom

6/06/2011 4 Comments
I decided to do something I've never done before to my master bedroom.

I decided to change up some of the textiles in the room for a season.

I'm so glad I did too!!!
What do you guys think?

I love how the white brightens everything.
Oh wait, here's what it looked like right before the change.

It should have looked like this, but we've gotten lazy.

All of the new whiteness is from Ikea.

I altered the curtains so that they were back tab which I'll show you how to do tomorrow. :) But for now here's some more deliciousness for you guys to gaze upon. :)


I have decided that I definitely need more color on this bed, so I guess that mean I'll be making more pillows :)

Oh darn.

See you guys tomorrow!
Heather

6/03/2011

Served With a Fork, Knife, and Spoon

6/03/2011 0 Comments


One-dish meals. Let me see a show of hands for who likes them. That's what I thought. I love one-dish meals. Cutting right to the chase, today's one dish meal is not something I had ever really thought of before. Why? Oxtails. I actually have no idea how popular this cut of meat is. Have you ever had them? Twenty six years I went without this fabulous food. Well, better late than never.

Country Oxtails

Recipe altered slightly from Paula Deen's original


3 lb oxtails
Salt and pepper for seasoning
1 tsp olive oil
1 can beef broth
1 cup red wine
1 Tbsp Worcestershire sauce
6 cloves garlic, lg ones cut in 1/2
1 tsp dried basil
1 tsp dried oregano
2 bay leaves
1 (8 oz) can tomato sauce
1/2 Vidalia onion, cut into 6 wedges
6 sm new red potatoes, cut in 1/2
4 med carrots, cut into 2" lengths
1 pot hot buttered rice

Preheat oven to 300 to 350° F.

Sprinkle the oxtails liberally with salt and papper on both sides.

Coat the bottom of a heavy oven-proof Dutch oven with the olive oil. Once heated, add the oxtails and sear on all sides. Remove and set aside. Scrape up the brown bits from the bottom of the pan. Add the beef broth, red wine, Worcestershire sauce, and garlic cloves. Stir. Add basil, oregano, bay leaves, hot sauce, tomato sauce, and the reserved oxtails. Stir to combine all ingredients together.

Cover tightly, place in oven, and bake for 2 to 3 hours.

Remove from oven and bring to a simmer on stove top. Add the sweet onion wedges, red potatoes, and carrots to the pot. Cover and simmer until potatoes are almost tender, roughly 15 minutes.

Serve oxtails with the vegetables over hot buttered rice.

There they are. Biscuit-sized pieces of pure flavor. That's right, oxtails are packed with flavor. Forget filet, go for these!

I've said it before, I'll say it again: Anything cooked in wine is a winner in my book.

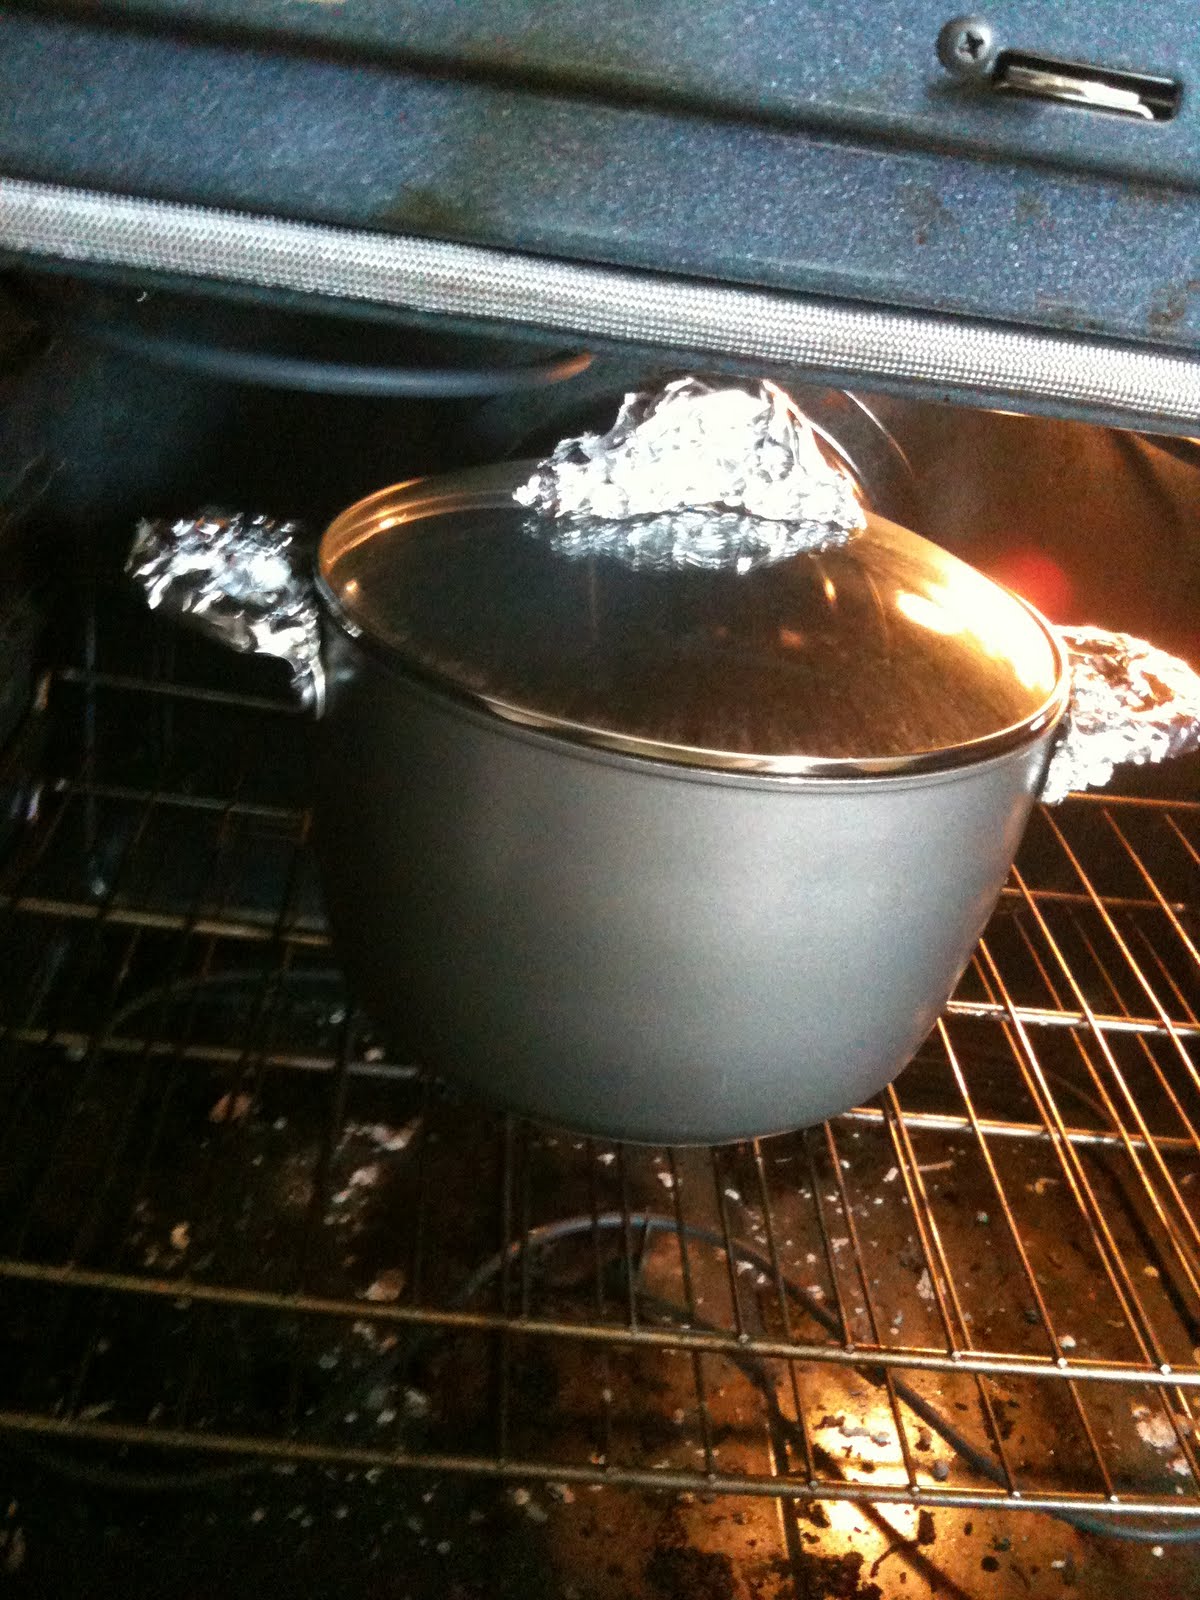
This was a little nerve wracking for me. I'd heard that you can put non-stick cookware into the oven with some precautions taken, but I wasn't ready to just take a chance on my {beloved} pots and pans. I did research--a lot of research--and found that you can put non-stick cookware into the oven up to 350 degrees. I also put tinfoil on the handles for a little extra insurance. I probably won't be doing this took often, though; it makes me nervous and I have my eye on a few new pieces for the kitchen anyway. :-)

Funny story. You know how the recipe calls for 6 small new potatoes? Mike apparently does not know what a small potato looks like, so, after breaking all the potatoes down, I put about 2/3 into a ziplock bag and froze them for later. Yeah, that's just a portion of the potatoes there.

And voila! Country oxtails or, as I like to call it, oxtail stew. Is that not a hearty looking meal? You may still be wondering about the post title though. Why did I mention all three utensils? Because you really do need all three to eat this. The fork and knife are necessary for getting the meat off the bones, which is really pretty easy since it's falling off after cooking for so long anyway. Also, I recommend nibbling on the cleaned off bones too. Don't let any of that goodness go to waste! Then, after the meat is off the bones, you can start shoveling it in with your spoon.

You know what else makes this one-dish meal great? Oxtails are really cheap! They might even be seen as kind of throwaway cuts. Love it!

Bonus:
I want to show off my new favorite kitchen feature. My new kitchen island! I've always wanted an island and I finally have one! We ordered it online and I came home one day from work one day the other week to find that Mike had put it together for me all by himself! Isn't he the best? :-D I love you, Mike. I love you, island!


6/02/2011

New Job for an Old Window

6/02/2011 1 Comments
I love old windows.

So I have a lot, I mean A LOT of old windows. I picked up about 23 of them at an estate auction last year.

I have used 4 of them for projects so far. The hubs wants me to clear the windows out.

So I took one of the more beat up window frames, the glass was gone, and decided that I needed some love for above my computer monitor in my nifty new computer closet. :)

Along with my window frame, I had the hubs cut three 1/4" plywood panels to fit inside the window spaces, and then grabbed my cork board contact paper stuff, some low loft batting, a fat quarter, some ribbon, and my stapler and a glue gun. The picture below is not a good representation of what you're about to see.
Oh and the pictures for this how-to end here, until the finished product. It might be the worst tute ever. :)

So I cut down my corkboard to fit the panels, then just adhered it to the wood. Easy Peasy.

For the padded memo board, I wrapped the batting and the fat quarter around the wood panel. Yanked out my stapler and then went to town around the edges. I did make sure to stretch everything nice and tight.

Next the glue gun and ribbon came out. I kind of eyeballed where to put the first 45 degree ribbon and then went from there. Hot gluing one edge first and then pulling the ribbon taut and gluing the other edge down.

I used an entire roll of ribbon for this.

After all of that work, I pushed the panels into the openings of the frame and then stapled everything in.  Add picture hanging stuff of your choice and . . . VOILA!

Insta - fun over my monitor. It's also quite handy at holding things. :)


Here's a close up of my pictures, cause I know you want to know who they are. Obv the photo strip is Dev and Steve. I should really put a picture of Harrison too. :) The gorgeous lady with the dog is my Mom and our first dog, Patches. Then the handsome fella in the uniform is my Daddy! He's sporting his Hargrave uniform :)

So that's what I did last night after the kids were fast asleep. :) One more window saved, and only 18 or so left to do something with.

I hope you guys have a great day!
Heather

6/01/2011

More Dahling Dahlias!

6/01/2011 12 Comments
I'm at it again. I cannot get enough of these felt dahlias, of course now I want to add flowers to everything, but so far I've been able to restrain myself. Almost.

I may have gotten my fix. About 9 times over.

So you guys remember when I made my Dahling Headband?

Yep these are the same dahlias.

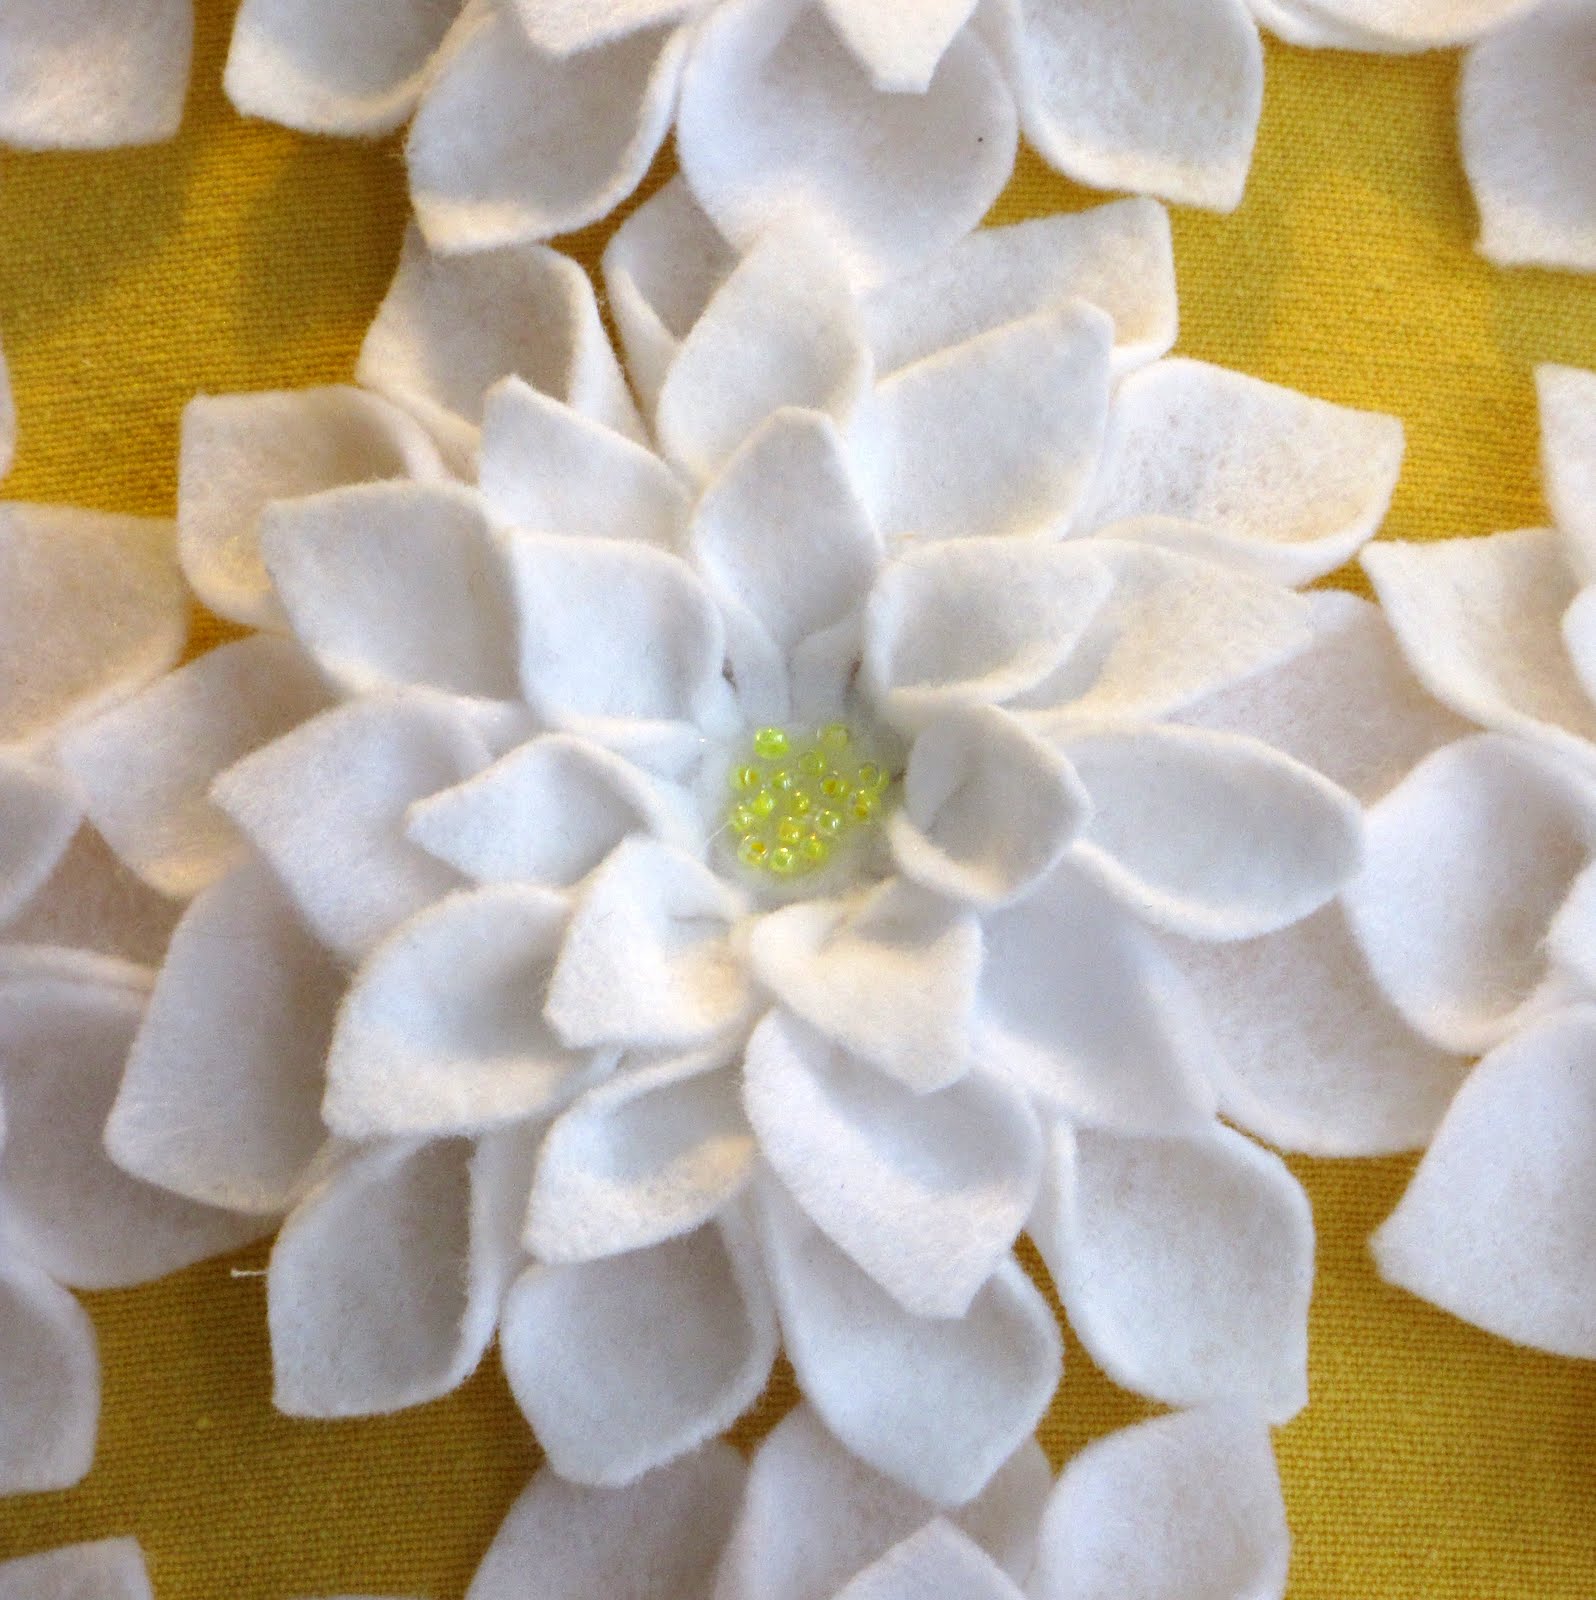
I just added some yellow seed beads to center. I just added a drop of hot glue to the centers, and then poured the seed beads over the hot glue. When the glue had cooled a bit, I pressed the beads down into it, and then just shook off the excess.

Then I let all 9 flowers sit for about a month while my sewing room got ravamped, but last night I decided it was time to finish this project.

I had gotten some pretty  yellow linen from Ikea a while back and it'd even been all washed up. Saves me time. :) So I cut out two 15" squares and then sewed up 3.25 of the seams. Why the quarter, because on that 4th side I sewed about 2" in from each corner, just so the corner would be nice and finished. :)

After turning the pillow I folded it in half, and then ironed a line down the center, then I brought each edge to my ironed middle line and ironed 2 more lines. I rotated the pillow 90 degrees and then did it again. So I ended up with a nice grid that had 9 intersections of ironed lines.

I stuffed a small cardboard square into the pillow, because I did not want to accidentally glue the two side together. The fabri-tac was then whipped out and I proceeded to paint the bottoms of the dahlias with glue and then stuck them on to the pillow at the ironed intersections. I made sure to press each one down, and then as I was working another project I would place the stuff I was working with on the pillow to add some weight and help those flowers stick. Not that I was worried, because fabri-tac bonds everything nice and tight, but you know - the boys.

The boys likes to play- hard, and my darling pillow may not be able to stand up to their type of playing.

So after the glue was dry, and I had a nice night's sleep, I removed the cardboard, and shoved my pillow form into the linen and then sewed up the opening.
Isn't she precious? She's going in my bedroom, which is going to get a summer makeover just as soon as I wash the sheets. Which maybe should be sometime in the near future, hopefully. ;-)
Have a great day guys!
Heather