
UPDATE
I've now added the pictures I forgot to put in originally! Also when I came downstairs this morning, this is what I found.
 |
| Yep....that's Harrison and a mess of torn toilet paper. Thank goodness his bink was there, otherwise he might have been eating said mess. :) |
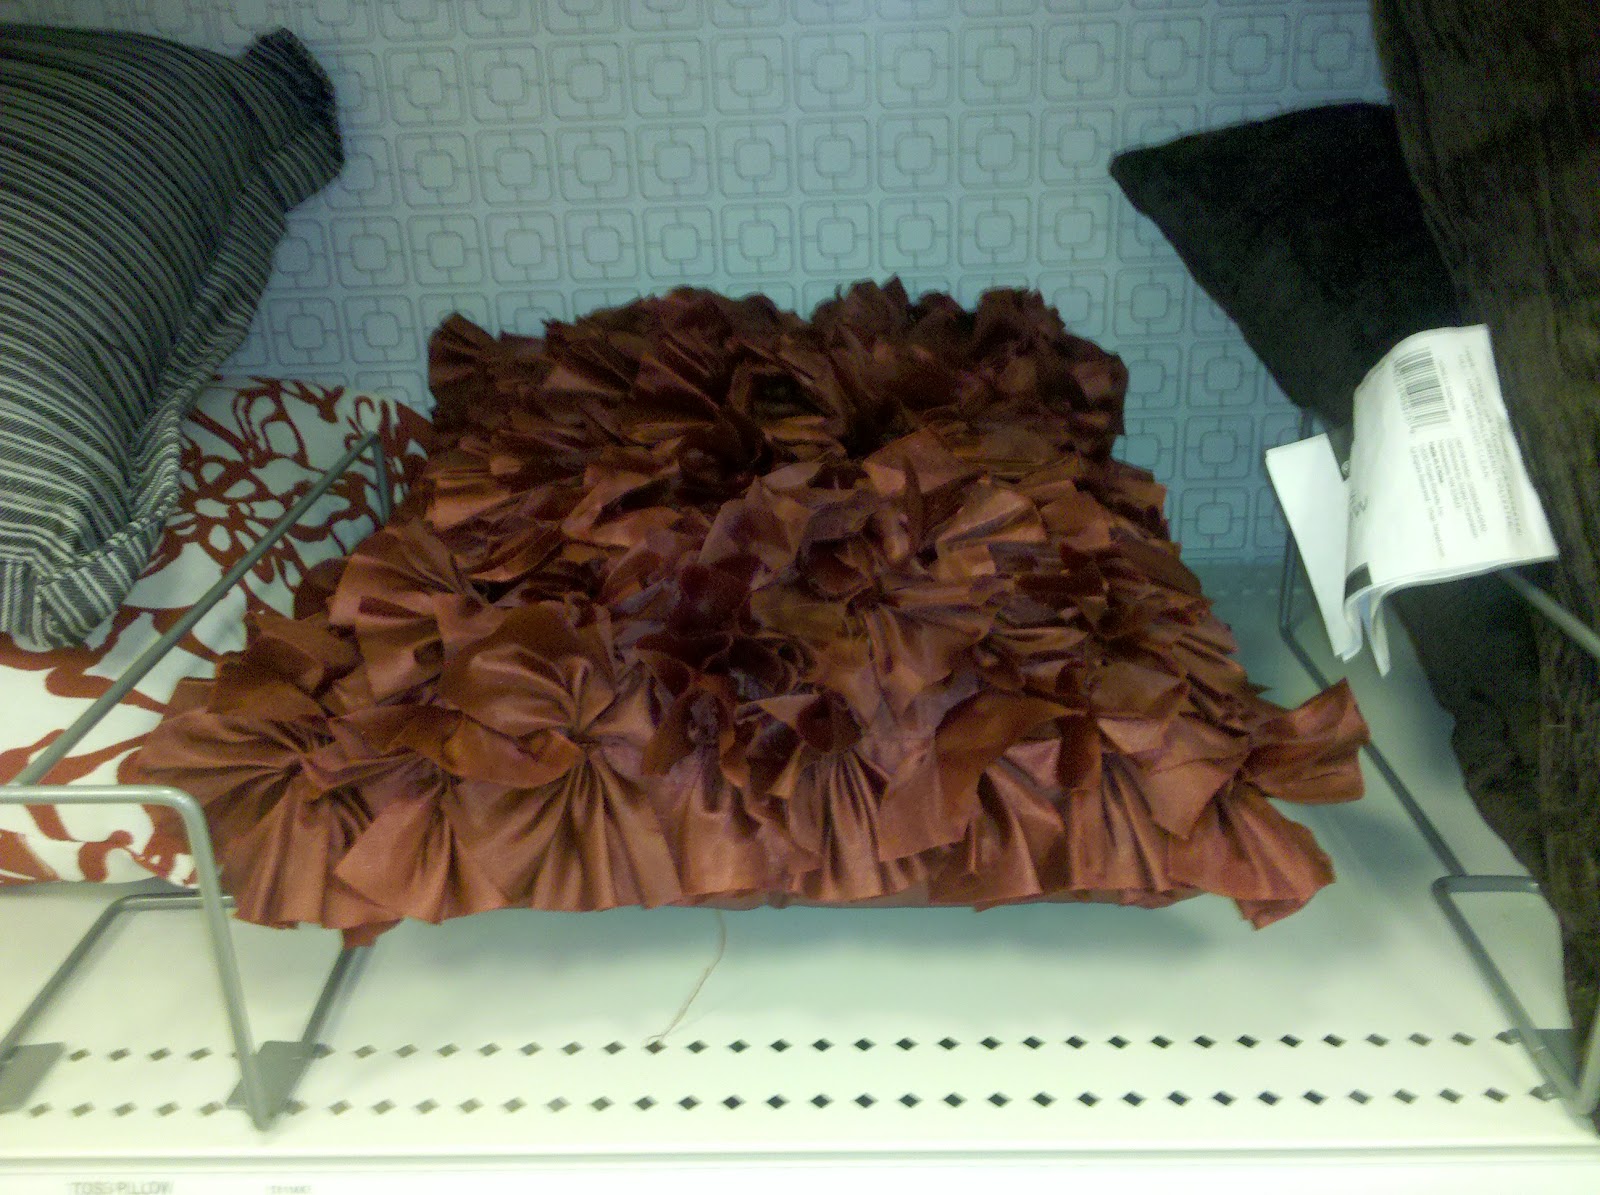
I will start off by apologizing for the pictures. I have no pictures during this process, but luckily, it is an easy process :) This idea was spurred by another Target pillow.
 |
| This is what your pillow would look like if you covered the entire face with all 169 squares. |
 |
| The squares are tacked 1" apart. |
What you'll need:
- 2-5/8 yards of an easily gathered fabric (blouse material, sheers, netting, tulle, etc)
- 14" pillow form
- thread
- scissors
- patience
- time
Cut your fabric into two 14-1/2" squares. Take the remaining amount of fabric and cut 169 4" squares on the bias (45 degree angle). I found it easier to first cut the fabric into 4" strips (on the bias) and then cut the strips into 4" squares.
Take one of your 14-1/2" panels and draw a line 1/2" from each edge. Then make a hash mark every inch starting from one of the lines you made. Do this for each line. You should end up with 169 hash marks. Set aside for now.
Take one of your 4" squares and eyeball the center. Stitch a long gathering stitch along the eyeballed middle line. Then gather the square up as tight as it will go. It will look like a bow or farfalle pasta :). Secure the ends of your gathering threads. I just knotted mine together. Do this 168 more times. I hope you have some time on your hands.
Remember those hash marks you made? Well those marks are where you're going to secure each and every one of those gathered squares. Fun, right? Start in a corner and pin one of your bows down in the center (presumably where your gathering stitch is). It doesn't matter which direction as long as its either vertical or horizontal. Move the next hash mark (either directly next to or below) and then pin your next bow going to the opposite direction of your first. So if you pinned your first bow horizontally, then your second bow would be pinned vertically. The bows will overlap and this is what you want. Pin the third bow next to the second going the same direction as the first bow (which is also opposite of how no. 2 is pinned). Keep pinning the bows down, alternating the positions of each one, until the entire row is pinned.
Lower your feed dog (you don't want your fabric moving, unless you do it), and choose the zig zag stitch on your sewing machine. Starting at the bow you first pinned down, stitch the center of the bow down with several stitches. Lift your presser foot and move to the 2nd bow (you will have to rotate your fabric 90 degrees) and stitch this one as you did the first. Repeat for the remaining bows.
Pin and sew the remaining bows as outlined in the previous two steps. Once completed, sew your pillow together as you normally would. Stuff, stitch and enjoy.

I hope you enjoyed today's lesson, but some of you may notice that my pillow was considerably less than 169 squares (which will fill the entire face of the pillow) and you would be correct. I only have 36, because my fabric piece was a yard long remnant and after cutting out the larger squares. I had 1/2 a yard to work with. The 1/2 yard garnered me 41 squares (just a one to short for a 7" square), which is why I only have a 6" square on my pillow, but I like it :)
I hope you enjoyed today's lesson and have a wonderful Sunday!


This is gorgeous! Even prettier than your inspiration pillow. I love the black!
ReplyDeleteBeautiful and wonderful tutorial!
ReplyDelete