
We've all seen these pillows in the stores, and while I will probably not be making a lot of them, they are nice looking though. I also made this one as a slip cover, so that you can easily change it out for the seasons. So on to the show!
Stuff you'll use:
A yard of fabric
Ruler
14" Pillow form
A bit of time :)
What you'll do:
Square up the edges of your fabric. Cut one length of fabric 15"x 40.5". Cut two lengths 15" x 12"
On the longer length of fabric, starting from a short edge measure 2-1/4" in and mark. From that mark, make a mark every 2-1/4" down the length of the fabric. It helps if you make a mark on either side of the fabric, and you can mark the middle if it will help you; I did.

With wrong sides together, fold your fabric at the first mark. Sew a line 3/4" in from the fold. Unfold the fabric, then fold the fabric again at the next line, and sew as before. Repeat this until you have 17 pleats. Press the pleats flat, all going one direction.


Stitch the center line, making sure to keep your pleats nice and flat. Turn your panel so that you will be stitching in the opposite direction from the center line. You should have two lines of stitching that are opposite from the center line.
 |
| This is a front view of the presser foot pushing the pleats to the opposite direction. |
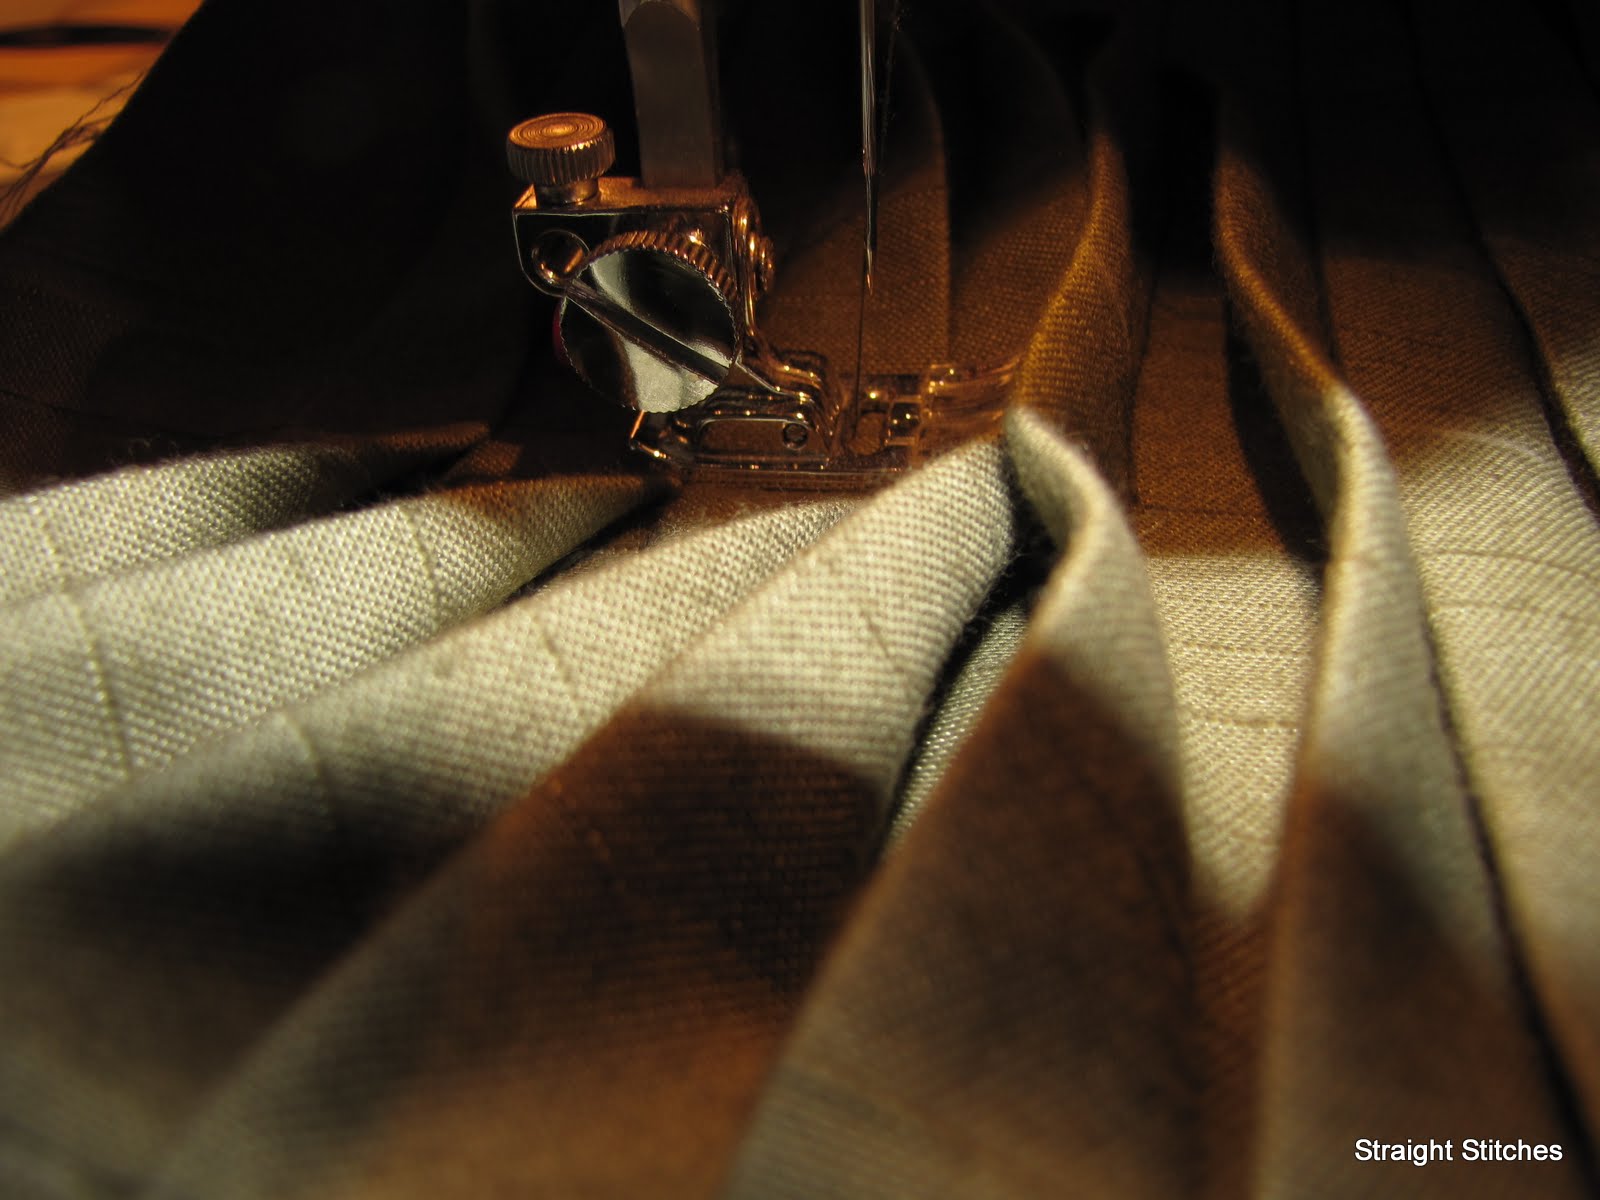 |
| A side view of the second line of stitching that is going opposite of what was just stitched. You can see the presser foot pushing the pleats the opposite direction. You need to ensure that the presser foot does push the pleats backwards away from it instead of feeding them under the foot in the same direction as the first stitching. |
 |
| A view of the panel after the first 3 lines of stitching are complete. |


 |
| This is the back of your panel after all the stitching is done. |


With right sides together, pin one of the shorter sections to one side of the pleated panel. Pin the other short panel to the other side, overlapping it with the other short section.


Sew the pieces together in a 1/2" seam on all sides. Clip the corners, then turn right side out. Stuff with pillow form and enjoy! :)


I hope you all enjoyed this tutorial, and here is a sneak peek of our bedroom. :)

You can see a little bit of the wall color, but not so much as this picture was taken this afternoon. Our room does not get
I'm linking up to these parties.
Have a wonderful day!


Wow, Heather.
ReplyDeleteWhen you said "sew a pillow" you meant handcraft a pillow.
That's BEAUTIFUL!!!
Happy Monday,
Laura
Great tutorial! Thanks for sharing! I'm stopping by t from the It's Craftastic party but I also have you in my google reader so would have probably gotten to it eventually, haha. Great stuff.
ReplyDeleteAnna
Thanks for sharing on SugarBee Craft Edition, www.craftedition.blogspot.com!
ReplyDeleteWOW! That is gorgeous! I can't even begin to imagine how much trying that would frustrate me, since I'm not all that great at sewing. Great job!
ReplyDeleteThank you for sharing with Talented Tuesday- don't forget to check out some of the other links posted for some cool projects!
What a great pillow! I might have to try that myself one of these days!
ReplyDeleteI am tagging along on Tag-along Tuesday! Please come and enter my giveaway for the beautiful baby book. Hurry! the contest ends tomorrow!
www.happyfamilyhappykids.blogspot.com
That did turn out nice! You have more patience than me to do those pleats! Thanks for linking it up to Craftastic Monday!
ReplyDeleteThank you so much for the comments. I don't think I'll be making a lot of these pillows, because, well, it was a pain, but there is one other twist on it that I'd like to try, but maybe after my brain has healed from the algebra :)
ReplyDelete